Have you ever looked at your car’s glove box and wished it matched the rest of your interior? Maybe it’s scratched, faded, or just plain dull.
You might be wondering, “Can I paint my car glove box myself? ” The good news is, yes—you can transform your glove box with a fresh coat of paint. But before you grab a brush or spray can, there are important tips and tricks you need to know to get a smooth, lasting finish.
Keep reading, and you’ll discover exactly how to make your glove box look brand new without spending a fortune or risking damage.

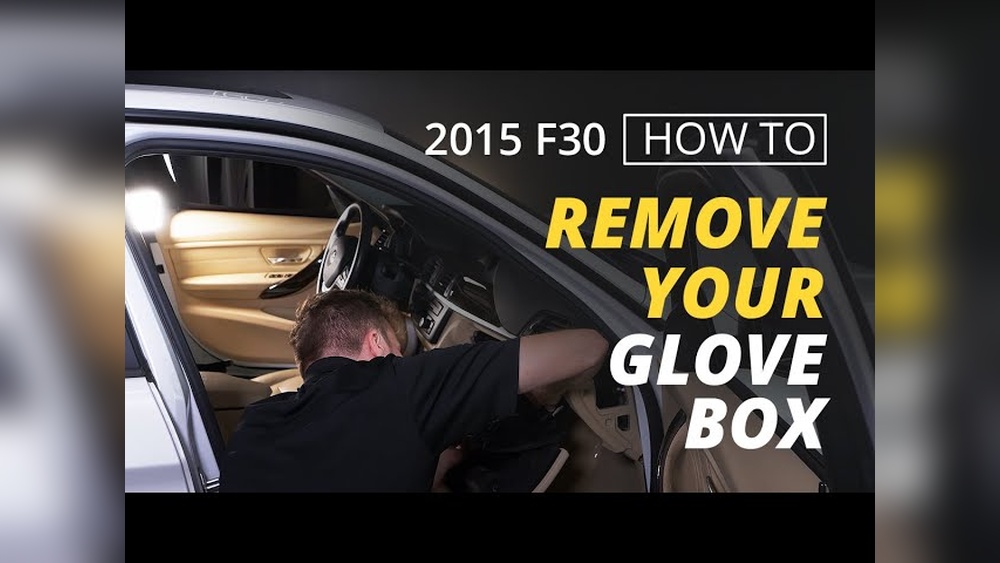
Credit: www.reddit.com
Preparing The Glove Box
Preparing the glove box is the first step before painting it. This process helps the paint stick better and last longer. Clean and smooth surfaces give the best results. Take your time to prepare carefully. This section covers removing, cleaning, sanding, and picking the right paint.
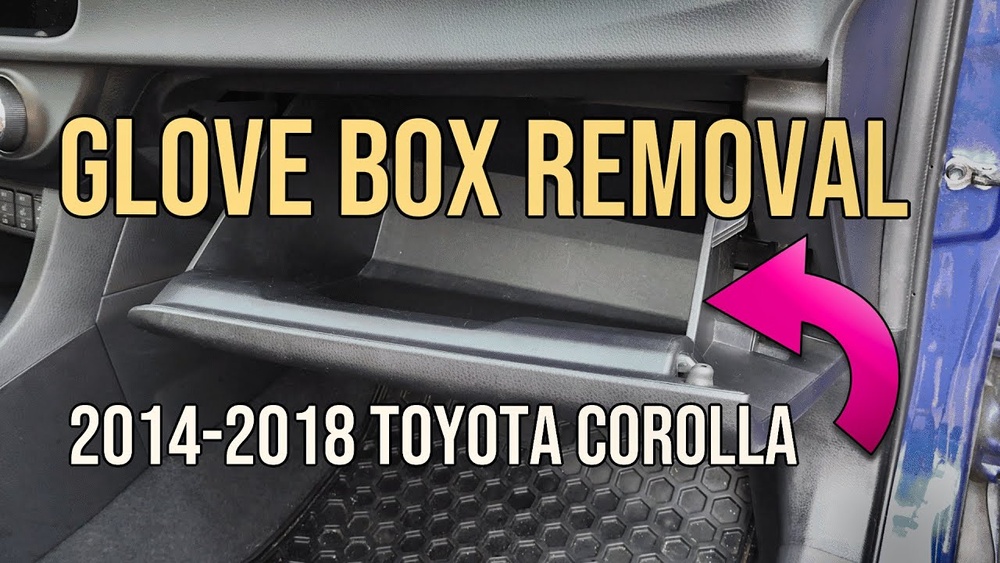
Removing The Glove Box
Remove the glove box from the car carefully. Open it fully and check for screws or clips. Use a screwdriver to take out screws. Keep the screws safe for reassembly. Gently pull the glove box out. Avoid forcing it to prevent damage.
Cleaning And Sanding
Clean the glove box surface with soap and water. Remove all dirt, dust, and grease. Let it dry completely before sanding. Use fine-grit sandpaper to sand the surface lightly. Sanding creates tiny scratches for paint to hold. Wipe away the sanding dust with a cloth.
Choosing The Right Paint
Select paint made for plastic or car interiors. Spray paints often give the smoothest finish. Pick a color that matches or complements your car. Use primer designed for plastic to improve paint adhesion. Choose paint that resists scratches and fading for durability.

Credit: www.amazon.com
Painting Process
Painting the car glove box requires careful steps to get a smooth finish. The painting process involves preparing the surface, applying the paint evenly, and allowing it to dry properly. Each step affects the final look and durability of the paint.
Applying Primer
Start by cleaning the glove box surface thoroughly. Remove any dust, grease, or old paint. Apply a thin layer of primer to help the paint stick better. Use a primer that suits plastic or metal, based on your glove box material. Let the primer dry completely before moving to the next step.
Spray Painting Techniques
Shake the spray paint can well for an even mix. Hold the can about 6 to 8 inches from the surface. Spray in light, even coats using smooth side-to-side motions. Avoid spraying too much paint at once to prevent drips. Allow each coat to dry before applying the next one. Usually, two or three coats give the best result.
Drying And Curing Time
Let the painted glove box dry in a dust-free area. Drying time depends on paint type and room temperature. Wait at least 24 hours for the paint to dry fully. For best durability, allow the paint to cure for several days. Avoid touching or reinstalling the glove box too soon.
Finishing Touches
Finishing touches bring your painted glove box to life. They protect the paint and enhance its look. These steps make sure your work lasts long and shines bright.
Applying Clear Coat
Apply a clear coat to protect the paint. Use a spray can for even coverage. Hold it about six inches from the surface. Spray in light, smooth layers. Let each layer dry before the next. This prevents drips and uneven spots. The clear coat seals the paint and adds shine.
Polishing For Shine
After the clear coat dries, polish the surface. Use a soft cloth and a small amount of polish. Rub gently in circular motions. This removes tiny imperfections and boosts shine. Polishing gives the glove box a smooth, glossy finish. It makes the paint look fresh and new.
Reinstalling The Glove Box
Once everything is dry and polished, put the glove box back. Align it carefully with the mounts. Secure screws tightly but do not over-tighten. Check the door opens and closes smoothly. A well-installed glove box completes your car’s interior look. The new paint job now stands out perfectly.
Troubleshooting Common Issues
Painting a car glove box can give your car’s interior a fresh look. Small mistakes may happen during the process. Troubleshooting common issues helps you fix problems fast. It also improves the final result. Here are some tips for common paint problems.
Avoiding Paint Runs
Paint runs happen when too much paint is applied at once. The paint drips and creates ugly streaks. Use thin, even coats for better control. Let each coat dry before applying the next. Hold the spray can or brush steady. Keep the paint tool moving to avoid buildup.
Fixing Uneven Coverage
Uneven coverage leaves some areas patchy or thin. This can look unprofessional and messy. Sand the surface lightly to smooth rough spots. Apply another thin coat of paint evenly. Use a quality brush or spray can for better spread. Check your work under good light for missed spots.
Handling Paint Chips
Paint chips can happen after drying or from use. They make the glove box look old and worn. Clean the chipped area gently with a soft cloth. Use a small brush to touch up the chip with matching paint. Let the paint dry fully to blend it well. Consider a clear coat for extra protection.
Tips For Long-lasting Results
Painting your car’s glove box can freshen up the interior. To keep it looking great for a long time, follow simple care tips. These steps help protect the paint and maintain its shine. A well-painted glove box adds style and value to your car.
Proper Maintenance
Check the glove box regularly for scratches or chips. Fix small damages quickly to prevent paint from peeling. Avoid using harsh chemicals on the painted surface. Use soft cloths to clean and avoid rough materials that can scratch. Keep the glove box dry to stop moisture damage.
Protecting From Sun Damage
Sunlight can fade and weaken the paint over time. Park in shaded areas or use a sunshade to block UV rays. Apply a UV-protectant spray made for painted surfaces. This helps keep the paint bright and strong. Avoid leaving the car in direct sun for long hours.
Regular Cleaning
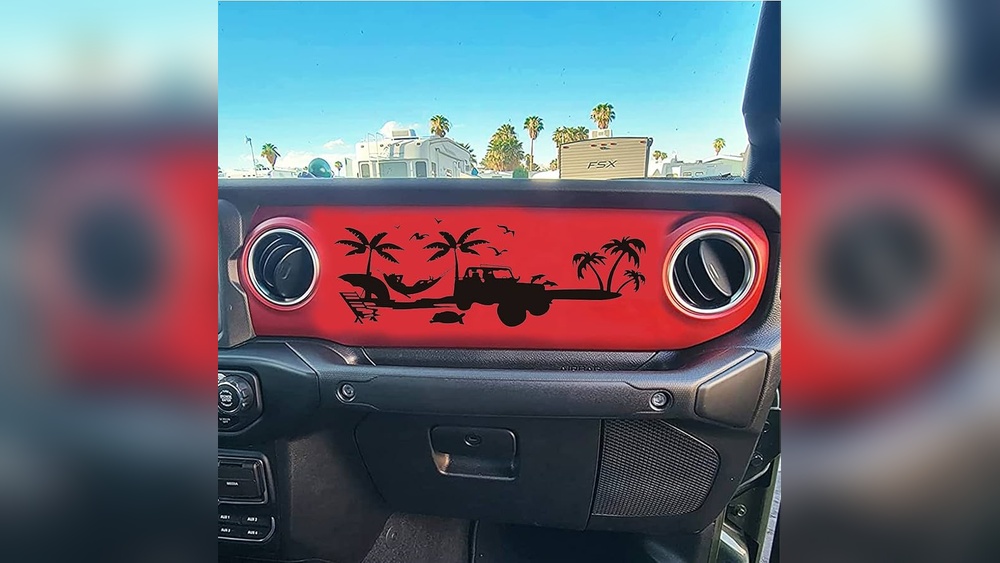
Clean the glove box often to remove dust and dirt. Use mild soap and water with a soft sponge. Dry the surface gently to avoid water spots. Regular cleaning stops buildup that can wear down the paint. Keep the glove box neat for a fresh look.
Credit: www.etsy.com
Frequently Asked Questions
Can I Paint My Car Glove Box Myself?
Yes, you can paint your car glove box yourself. Use plastic primer and paint designed for interiors. Sand lightly and clean before painting for best results.
What Type Of Paint Works On Glove Boxes?
Use flexible, plastic-specific spray paint or automotive interior paint. These paints adhere well and resist cracking or peeling over time.
Do I Need To Remove The Glove Box To Paint It?
Removing the glove box is recommended for even coverage and to avoid paint on surrounding areas. It ensures a professional finish.
How Long Does Painted Glove Box Paint Last?
With proper prep and paint, the finish can last several years. Avoid harsh cleaners and direct sunlight to maintain durability.
Conclusion
Painting your car’s glove box can refresh its look and feel. Choose the right paint and prepare the surface well. Take your time to avoid mistakes and get smooth results. Small steps make a big difference in the final outcome.
Enjoy customizing your car’s interior with a personal touch. This simple project adds style without much cost or effort. Give it a try and see how much it improves your car’s cabin. A little care goes a long way.