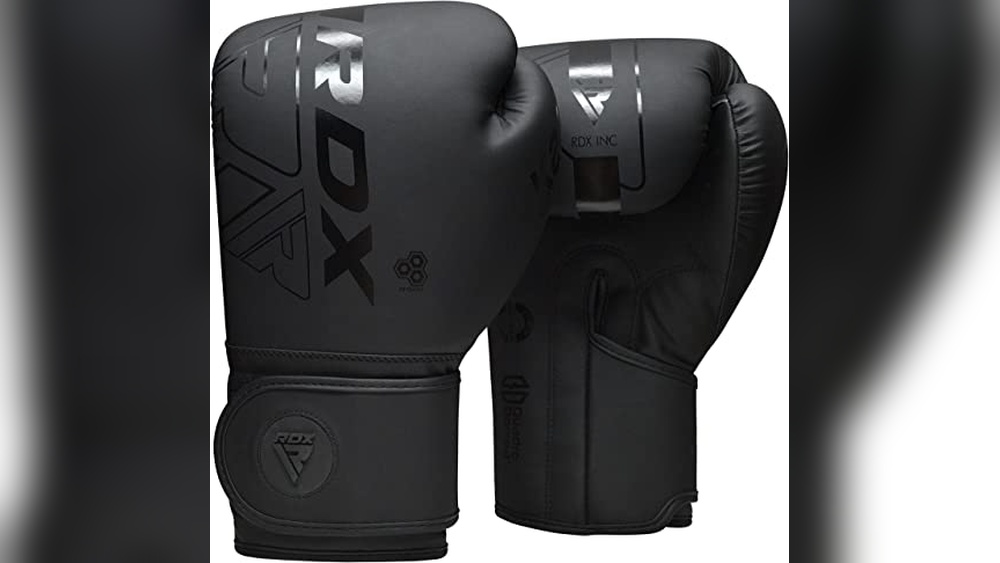
Have you ever wanted to draw boxing gloves but didn’t know where to start? You’re in the right place.
Drawing boxing gloves can seem tricky, but with the right steps, you can create a great sketch quickly. Imagine being able to add your own powerful, detailed gloves to your artwork or designs. In this guide, you’ll learn easy techniques that make drawing boxing gloves simple and fun.
Ready to impress yourself and others with your new skill? Let’s get started!
Materials Needed
Before you start drawing boxing gloves, gather all the materials. Having the right tools makes drawing easier and more fun. Each item helps you create clean and clear lines.
Use simple materials you can find at home or at a store. These tools help you sketch, outline, and color your gloves.
Paper
Choose a smooth, white sheet of paper. Drawing paper or printer paper works well. The surface should be clean to avoid smudges.
Pencil
Use a soft pencil like 2B or HB for sketching. It allows easy corrections and smooth lines. Keep a sharpener handy to maintain a fine tip.
Eraser
A soft eraser removes mistakes gently. Avoid rough erasers that damage the paper. A kneaded eraser is great for light corrections.
Black Pen Or Marker
Use a fine-tip black pen to outline your drawing. This step makes your gloves stand out. Choose waterproof ink to prevent smudging.
Colored Pencils Or Markers
Pick red, white, or other colors for your gloves. Colored pencils give smooth shading. Markers offer bright and bold colors.
Ruler (optional)
A ruler helps draw straight lines if needed. It is useful for creating neat edges and shapes.

Credit: www.wikihow.com
Basic Shapes To Start
Start by drawing simple shapes like circles and ovals to form the main parts of the gloves. These basic shapes help create the correct size and structure before adding details. Keep the shapes light and easy to adjust as you go.
Drawing boxing gloves begins with simple shapes. These shapes help form the glove’s structure. Start by sketching the main body of the glove. It looks like a rounded rectangle or an oval. This shape will be the glove’s padded part.
Next, add a circle or oval for the wrist area. This part connects the glove to the arm. The wrist section is usually narrower than the glove’s body. Keep your lines light to adjust the shapes easily.
Use a small rectangle or square for the thumb. Place it on the side of the main glove shape. The thumb should look slightly bent, not straight. This gives the glove a natural look.
These basic shapes are the foundation. They help you keep the proportions right. Focus on these forms before adding details.
Drawing The Glove Outline
Drawing the outline of a boxing glove sets the base for a realistic sketch. It helps define the glove’s shape and structure. Start with simple shapes to get the right form. Keep your lines light so you can adjust later.
Creating The Palm Shape
Begin by sketching a rounded rectangle. This forms the palm area of the glove. Make the shape slightly wider at the top. The bottom edge should curve gently. This gives the glove a soft, padded look. Keep the edges smooth and avoid sharp corners.
Adding The Thumb
Draw a smaller oval shape attached to the palm’s side. Place it near the top left or right, depending on the glove’s hand. The thumb should curve naturally towards the palm. Keep the shape slightly thick to show padding. Connect it smoothly to the palm outline.
Detailing The Gloves
Detailing the gloves brings your drawing to life. It adds depth and realism to the simple shapes you drew earlier. Small lines and shapes make the gloves look padded and ready for a fight. This part is fun and lets you be creative with textures and patterns.
Adding Finger Segments
Start by sketching short, curved lines on the glove’s front. These lines show where the fingers bend inside the glove. They look like small bumps or ridges. Keep them evenly spaced and follow the glove’s natural curve. These segments give the glove a soft, cushioned look.
Draw three or four segments for each finger area. Use light strokes first, then darken them later. Avoid making the segments too sharp or pointy. Rounded edges look better and feel more natural.
Drawing The Wrist Strap
The wrist strap holds the glove tight during a match. Draw a wide band around the glove’s wrist area. It should wrap around the glove smoothly, following its shape. Add a small rectangle or square on the strap to show the Velcro or buckle.
Use straight lines for the strap edges. Add a few lines inside the strap for texture. These details make the strap look sturdy and functional. This simple touch improves your glove’s overall look greatly.
Shading And Texture
Shading and texture bring boxing gloves to life in your drawing. They create depth and show the material’s feel. Without shading, gloves look flat and unrealistic. Texture adds details that make the gloves look worn or new. This section explains how to add light, shadow, creases, and wrinkles.
Light And Shadow Placement
Start by imagining a light source. This helps decide where to place light and shadow. Areas facing the light are bright. Opposite areas stay dark. Use soft shading for smooth curves of the gloves. Darken edges where gloves fold or bend.
Shadows show the glove’s round shape. Add darker tones under straps and around seams. Blend shadows gently for a smooth look. Avoid harsh lines unless the gloves have sharp edges.
Adding Creases And Wrinkles
Creases and wrinkles show how gloves bend and flex. Draw small lines where the glove folds during movement. These lines add realism and show the glove’s softness. Use thin, curved strokes for wrinkles. Avoid overdoing it; too many lines look messy.
Focus on areas near the fingers and wrist. These spots often have the most folds. Shade lightly around wrinkles to make them pop. This technique gives the glove a worn, used look.

Credit: www.youtube.com
Coloring Tips
Coloring boxing gloves brings your drawing to life. It gives depth and style. Use smart coloring tips to make your gloves look real and vibrant.
Choosing Colors
Pick colors that fit the glove style. Red is classic and bold. Blue and black offer a modern look. Use bright colors for fun or muted tones for realism. Think about shadows and light areas. Use darker shades on edges to show depth.
Blending Techniques
Blend colors smoothly for a soft look. Use light strokes to mix colors gently. Start with a base color, then add shadows with darker tones. Highlight with lighter shades on raised parts. Blending creates a 3D effect. Avoid harsh lines between colors for smooth transitions.
Common Mistakes To Avoid
Drawing boxing gloves can be fun and rewarding. Avoiding common mistakes helps create a better drawing. These errors often make the gloves look odd or unrealistic. Knowing what to watch out for saves time and frustration. Below are common mistakes many artists make. Learn to spot and fix them early.
Incorrect Proportions
Boxing gloves have a unique shape. The palm area is wider than the wrist. Avoid making the glove too long or thin. Keep the fingers’ section rounded and bulky. Wrong proportions make the glove look unnatural.
Ignoring Padding Details
Boxing gloves have thick padding for protection. Skipping this detail makes the gloves look flat. Add soft, curved lines to show padding. This gives a realistic, cushioned look.
Overcomplicating The Design
Simple shapes work best for beginners. Avoid drawing too many small details. Too much detail can confuse the main shape. Focus on clear, bold lines first. Add details only after the basic form looks good.
Wrong Wrist Strap Placement
The wrist strap secures the glove. Placing it too high or too low looks odd. Position the strap near the wrist’s base. Show it wrapping around snugly for realism.
Flat Shading Without Curves
Boxing gloves are rounded and soft. Flat shading makes them look stiff. Use curved shading lines to show volume. This adds depth and a three-dimensional feel.

Credit: www.youtube.com
Frequently Asked Questions
How Do I Start Drawing Boxing Gloves?
Begin by sketching a basic oval shape for the glove’s body. Add a thumb shape on one side. Outline the wrist cuff with straight lines. This simple structure forms the base for detailing and shading.
What Materials Are Best For Drawing Boxing Gloves?
Use pencils for initial sketches and fine liners for outlines. Colored pencils or markers work well for shading. Quality paper helps prevent smudging. These materials give clean, vibrant results.
How Can I Add Realistic Details To Boxing Gloves?
Focus on creases, stitches, and padding contours. Shade areas to show depth and light reflection. Adding texture enhances realism. Study real gloves for accurate details.
What Are Common Mistakes When Drawing Boxing Gloves?
Avoid ignoring glove proportions and shapes. Don’t skip wrist cuff details. Overlooking shading can make the drawing flat. Correct these for a lifelike look.
Conclusion
Drawing boxing gloves can be simple and fun. Practice each step slowly and carefully. Use basic shapes to build the gloves first. Add details to make them look real. Keep your lines clean and clear. Try different styles to find what you like.
Drawing takes time, so be patient. Enjoy the process and keep practicing daily. Soon, your boxing gloves will look great on paper. This skill can help in many art projects. Keep drawing, and you will improve quickly.