Are you struggling to securely attach your locked bike rack to cement? You’re not alone.
Getting it right means your bike stays safe, and you avoid frustrating slips or damage. In this guide, you’ll discover simple, step-by-step tips that anyone can follow—even if you’re not a DIY expert. By the end, you’ll feel confident knowing your bike rack is firmly in place, giving you peace of mind every time you park.
Keep reading to learn how to make your bike rack rock solid on cement surfaces.

Credit: thebestbikelock.com
Choose The Right Bike Rack
Choosing the right bike rack is important for safety and convenience. The rack must fit the space and the type of bikes you have. It should also be strong and easy to lock. This helps keep your bikes safe on cement surfaces.
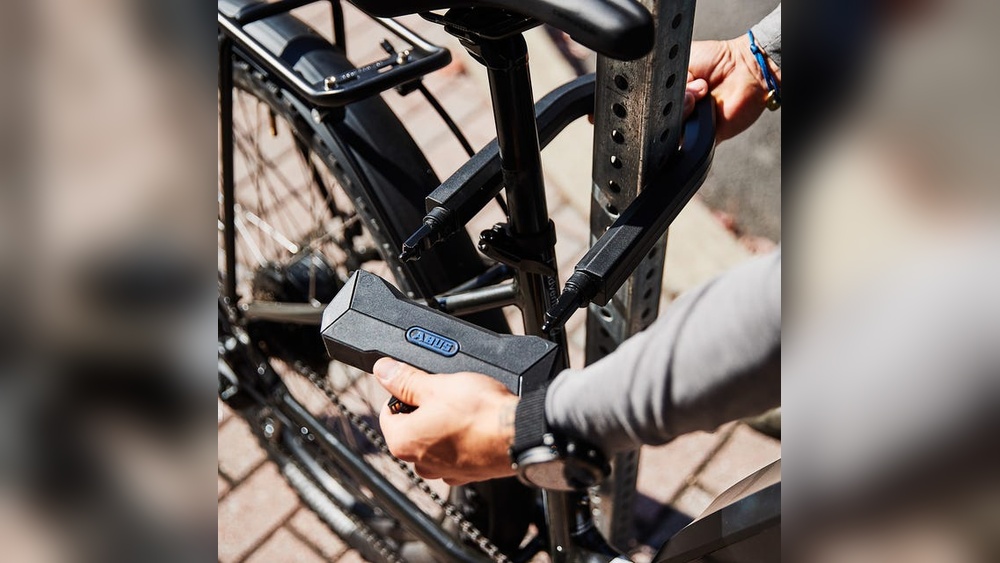
Types Of Locked Bike Racks
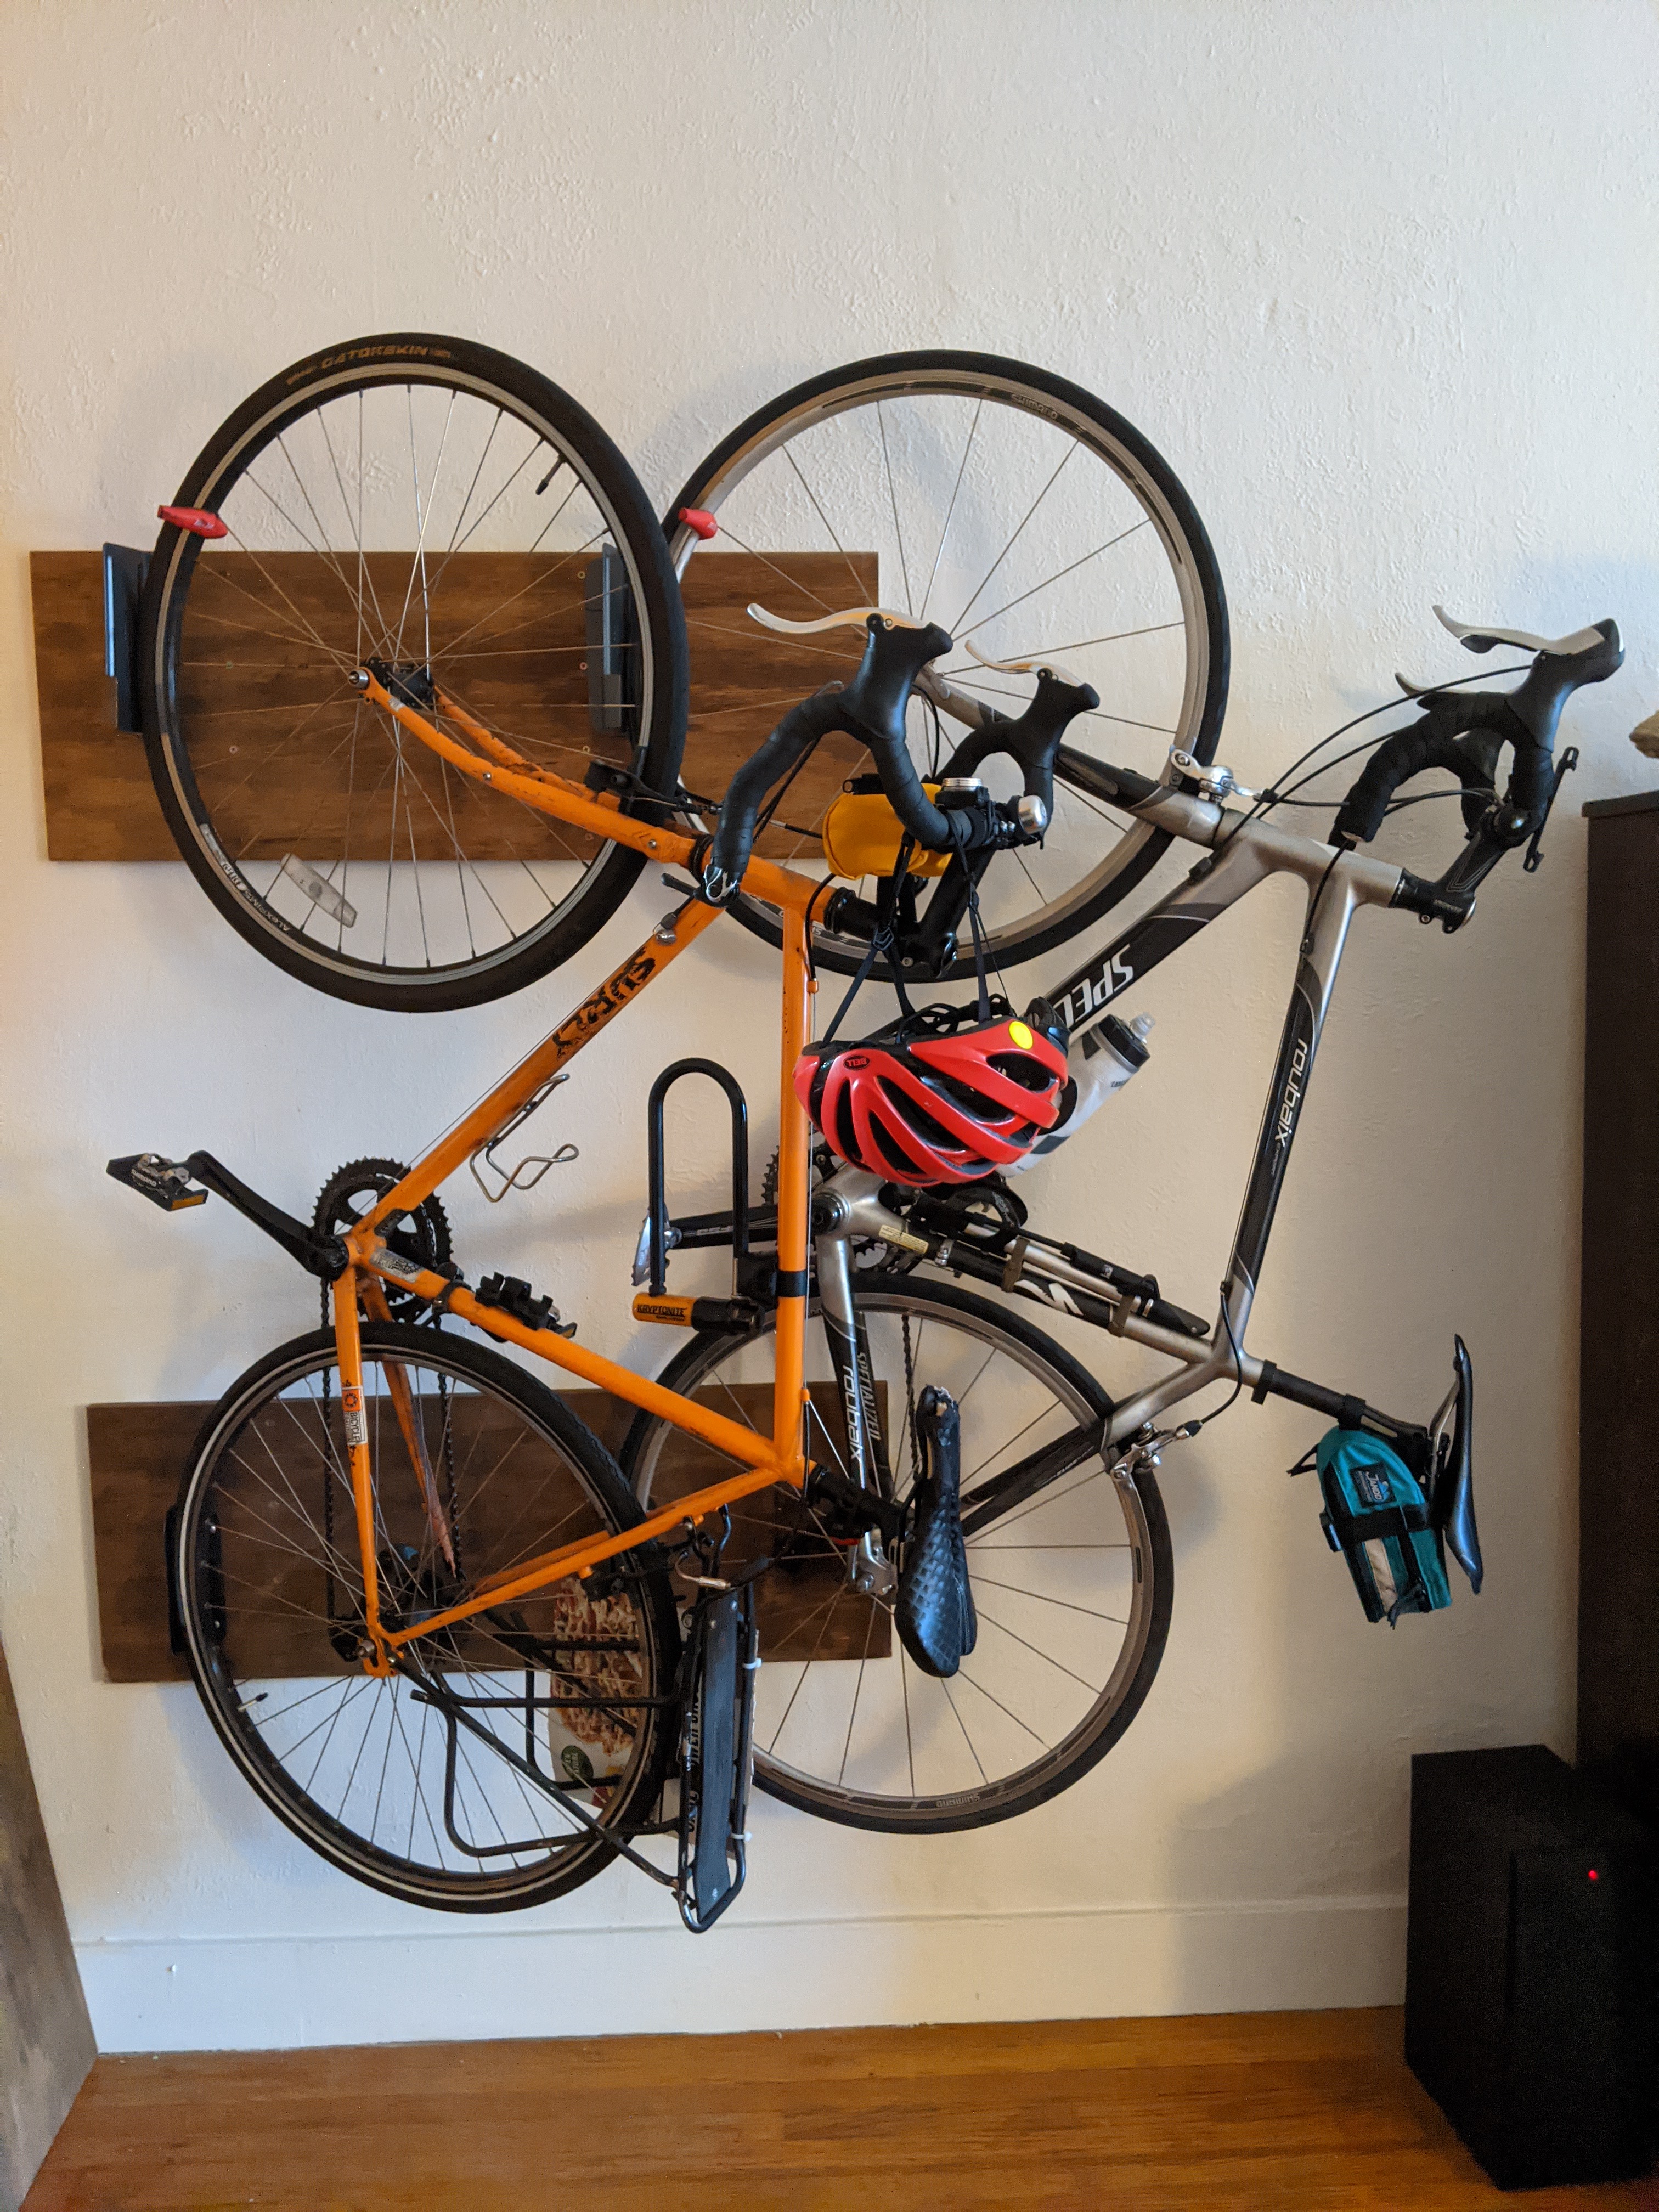
Several types of bike racks suit locked setups. U-racks offer solid support and easy locking points. Ring racks work well for smaller spaces and quick stops. Wall-mounted racks save ground space and keep bikes secure. Pick a type that matches your parking needs and security level.
Material Considerations
Choose racks made from tough materials like steel or heavy-duty aluminum. These resist rust and damage over time. Coated finishes add protection against weather. Avoid weak metals that bend or break easily. Durable racks last longer and protect your bike better.
Size And Capacity
Bike racks come in different sizes and hold various numbers of bikes. Measure the space on your cement area before buying. Make sure the rack fits and leaves enough room for locking. Consider how many bikes you need to park at once. Choose a rack that holds all your bikes comfortably.

Credit: www.reliance-foundry.com
Prepare The Cement Surface
Preparing the cement surface is a key step before attaching a locked bike rack. A clean and stable surface helps the rack hold strong and last longer. Take time to get the area ready to avoid problems later.
Clean The Area
Start by removing dirt, dust, and debris from the cement surface. Use a broom or brush to sweep the area well. For tougher stains, scrub with water and mild detergent. Let the surface dry completely before moving on.
Check For Cracks
Look closely for any cracks or damage in the cement. Small cracks can grow and weaken the hold of your bike rack. Repair any cracks with cement filler or patching compound. Wait until the repairs dry fully to ensure a strong base.
Mark The Mounting Points
Place the bike rack where you want it on the cement. Use a pencil or chalk to mark the spots for drilling holes. Double-check the marks match the rack’s mounting holes. Accurate marking makes installation easier and more secure.
Gather Necessary Tools And Materials
Gathering the right tools and materials is the first step to attach a locked bike rack to cement. Having everything ready makes the job faster and safer. It also helps you avoid mistakes that could damage the rack or the cement.
Below are the key items you need. Each one plays a specific role in securing the bike rack firmly.
Drill And Bits
A strong drill is essential for making holes in the cement. Use a hammer drill if possible. It makes drilling easier and faster. Choose masonry drill bits that fit your anchors and bolts. These bits are designed to cut through hard surfaces like cement. Make sure the drill bits are sharp and undamaged.
Anchors And Bolts
Anchors hold the bolts tightly inside the cement. Pick anchors made for cement surfaces. Expansion anchors or sleeve anchors work well. Choose bolts that match the size of your bike rack holes. Stainless steel bolts resist rust and last longer. Using the right anchors and bolts ensures the rack stays secure.
Safety Gear
Safety should never be ignored. Wear safety goggles to protect your eyes from dust and debris. Use gloves to keep your hands safe and improve grip. Hearing protection helps if the drill is loud. A dust mask prevents inhaling cement dust. Proper safety gear makes the task safer and more comfortable.
Drill Holes Into Cement
Drilling holes into cement is a key step to attach a locked bike rack firmly. The holes hold anchors or bolts that keep the rack stable. Proper drilling ensures strong support and safety. This process needs the right tools and careful work.
Following the correct steps makes the task easier and prevents damage to the cement. Prepare well to get neat, clean holes ready for mounting the bike rack.
Select Proper Drill Bit
Use a masonry drill bit designed for cement. These bits have a special tip to cut through hard surfaces. Check the size of the bit to match the anchor or bolt diameter. The right size ensures a tight fit and strong hold.
Drilling Technique
Start drilling slowly to make a small guide hole. Increase speed after the bit grips the cement. Keep the drill straight and steady. Avoid pushing too hard to stop cracks or breaks. Drill to the depth needed for the anchor length.
Clean Out Dust
Remove dust from the hole using a vacuum or air blower. Dust blocks anchors from fitting well. Clean holes improve grip and hold better. Repeat cleaning after drilling each hole for best results.
Install Anchors And Secure Rack
Installing anchors and securing your locked bike rack to cement is an important step. It keeps your bike safe and the rack steady. The process requires careful placement and tight fastening. Follow these simple steps to ensure a strong hold.
Insert Anchors
Start by drilling holes in the cement. Match the hole size to your anchors. Clean out dust and debris from holes. Push the anchors firmly into each hole. Make sure they sit flush with the surface.
Align The Rack
Place the bike rack over the anchors. Check that all holes line up perfectly. Adjust the rack’s position as needed. Proper alignment ensures easy bolt insertion. It also keeps the rack stable.
Tighten Bolts
Insert bolts through the rack holes and into anchors. Use a wrench to tighten each bolt. Tighten bolts evenly, one by one. Secure bolts firmly, but avoid over-tightening. This prevents damage to the cement and rack.
Test Stability And Security
Testing the stability and security of your locked bike rack after attaching it to cement is important. It ensures the rack stays safe and steady. A proper check helps avoid future problems and protects your bike.
Spend time checking every part. Make sure the rack does not move or wobble. Confirm the locking mechanism works correctly. Adjust parts if needed to improve safety.
Check For Movement
Try to move the bike rack by hand. Push and pull it gently from different angles. Look for any shaking or shifting. The rack should stay firm on the cement. Small movements mean the rack is not secure enough.
Locking Mechanism Function
Test the lock several times. Open and close it fully. Ensure the lock clicks and holds tight. A good lock stops the rack from being removed easily. If it feels loose or jammed, it needs fixing.
Make Adjustments If Needed
Tighten bolts and screws if the rack moves. Use a wrench or screwdriver for this. Replace any damaged parts immediately. Adjust the lock if it does not work smoothly. Keep testing until the rack feels solid and secure.
Maintenance Tips For Longevity
Maintaining your locked bike rack attached to cement helps it last longer. Simple care keeps it strong and safe. Follow easy steps to avoid damage and wear.
Regular Inspection
Check the bike rack often for any signs of damage. Look for cracks, loose parts, or wear. Early detection prevents bigger problems. Inspect after bad weather or heavy use.
Rust Prevention
Rust weakens the metal and causes failure. Apply a rust-resistant spray or paint regularly. Keep the rack dry and clean to reduce rust risk. Wipe off water or dirt after rain.
Tighten Bolts Periodically
Bolts can loosen over time with use and weather. Use a wrench to tighten all bolts every few months. Secure bolts keep the rack stable and safe. Do not overtighten to avoid damage.
Credit: sfbike.org
Frequently Asked Questions
How Do I Secure A Locked Bike Rack To Cement?
To secure a locked bike rack to cement, use heavy-duty expansion bolts. Drill holes into the cement, insert bolts, then tightly fasten the rack. This ensures strong stability and prevents theft or movement.
What Tools Are Needed To Attach A Bike Rack To Cement?
You need a hammer drill, masonry bit, expansion bolts, wrench, and measuring tape. These tools help drill precise holes and securely fasten the bike rack to cement surfaces.
Can I Install A Bike Rack On Any Type Of Cement?
Most standard cement surfaces support bike rack installation. Ensure the cement is solid, crack-free, and thick enough to hold bolts securely. Avoid weak or crumbly cement for safe attachment.
How Deep Should Holes Be Drilled For Bike Rack Bolts?
Drill holes at least 2 to 3 inches deep into the cement. This depth provides enough grip for expansion bolts to hold the bike rack firmly in place.
Conclusion
Attaching a locked bike rack to cement keeps your bike safe and steady. Choose the right tools and follow clear steps. Drill holes carefully and fix the rack tightly. This simple process helps protect your bike from theft and damage.
Take your time and check everything twice. Enjoy peace of mind with a secure bike rack. Now, your bike stays safe outside without worry.