Looking to keep your bike safe with a reliable Dutch bike lock? You’ve come to the right place.
Installing the right lock can make all the difference between peace of mind and worrying about your bike every time you leave it unattended. In this guide, you’ll learn simple, step-by-step instructions to install your Dutch bike lock quickly and securely.
Whether you’re new to bike locks or just want to make sure yours is set up perfectly, this article will help you protect your ride like a pro. Keep reading to make your bike theft-proof in no time!
Credit: bicycles.stackexchange.com
Choosing The Right Dutch Bike Lock
Choosing the right Dutch bike lock helps keep your bike safe. A good lock fits your needs and the level of security you want. Understanding different types of locks and key factors makes the choice easier.
Take time to learn about locks before buying. This way, you protect your bike better and avoid losing money on the wrong lock.
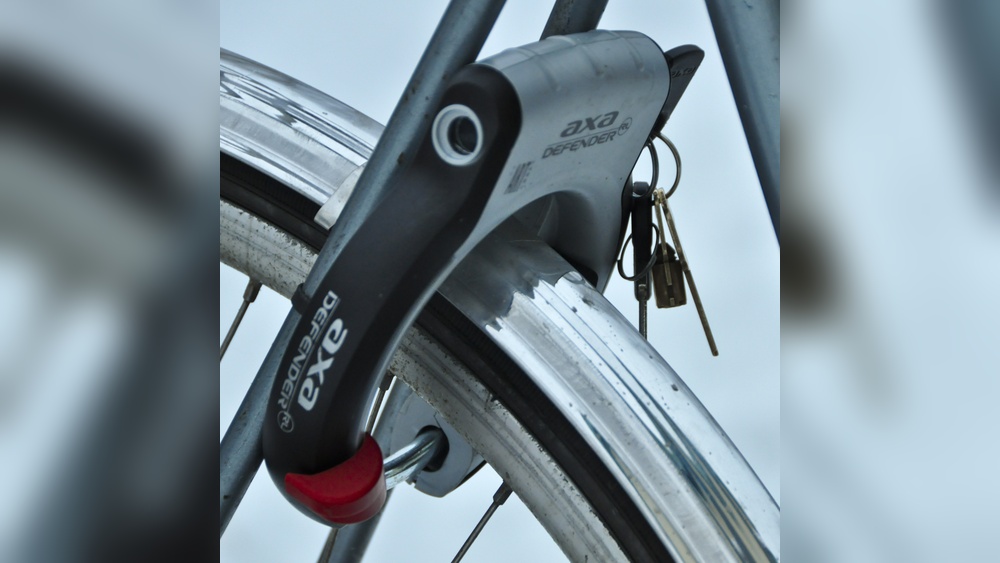
Types Of Dutch Bike Locks
Dutch bike locks come in several types. Ring locks attach around the rear wheel. They stop the wheel from moving. These locks are common and easy to use.
Chain locks are heavy but strong. They wrap around the bike and a fixed object. U-locks, shaped like a “U,” are very strong. They resist cutting and prying well.
Cable locks are light and flexible. They offer less security but are easy to carry. Choose a lock type that fits your bike and your area’s safety level.
Factors To Consider
Think about where you park your bike most. High theft areas need stronger locks. Also, consider how long you leave your bike outside.
Weight matters if you carry the lock often. Heavy locks give more protection but can be hard to carry. Check the lock’s size to fit your bike frame or bag.
Ease of use matters too. A lock that is quick to use helps avoid trouble. Look for locks with good reviews on durability and reliability.

Credit: www.dutchbikebits.com
Tools Needed For Installation
Installing a Dutch bike lock is simple with the right tools. Having the correct tools makes the job faster and easier. This section lists all tools needed for a smooth installation.
Allen Wrenches (hex Keys)
Allen wrenches fit the small bolts on most Dutch bike locks. Sizes 4mm and 5mm are common. They help tighten or loosen screws without damage.
Screwdrivers
A Phillips head screwdriver is often required. It fits screws with a cross shape. A flathead screwdriver might be needed for prying parts gently.
Adjustable Wrench
An adjustable wrench fits nuts and bolts of different sizes. It helps secure the lock bracket firmly to the bike frame. Tighten bolts without slipping.
Measuring Tape
Use a measuring tape to place the lock correctly. Measure the distance from the frame to the wheel. Proper placement ensures the lock works well.
Cleaning Cloth
A clean cloth removes dust and dirt before installation. Cleaning the frame helps the lock stick better if adhesive parts exist. Also, it keeps the bike neat.
Preparing Your Bike For Installation
Preparing your bike for the Dutch bike lock installation is important. A clean and well-chosen spot makes the lock work better. It also helps the lock last longer. This section covers two key steps: cleaning the frame and selecting the lock position.
Cleaning The Frame
Start by wiping down the bike frame. Remove dust, dirt, and grease. Use a damp cloth or mild soap with water. Dry the frame completely before installing the lock. A clean surface helps the lock stick firmly. It also prevents rust and damage to the frame.
Selecting The Lock Position
Choose a spot on the frame that is easy to reach. The lock should not block pedals or wheels. Usually, the rear wheel or near the seat tube works best. Make sure the lock fits tightly and does not move. A good position keeps your bike safe and the lock stable.

Credit: thebestbikelock.com
Step-by-step Installation Guide
Installing a Dutch bike lock is simple and quick. This guide shows each step clearly. Follow these instructions for a secure and proper fit. You will have your lock ready in no time.
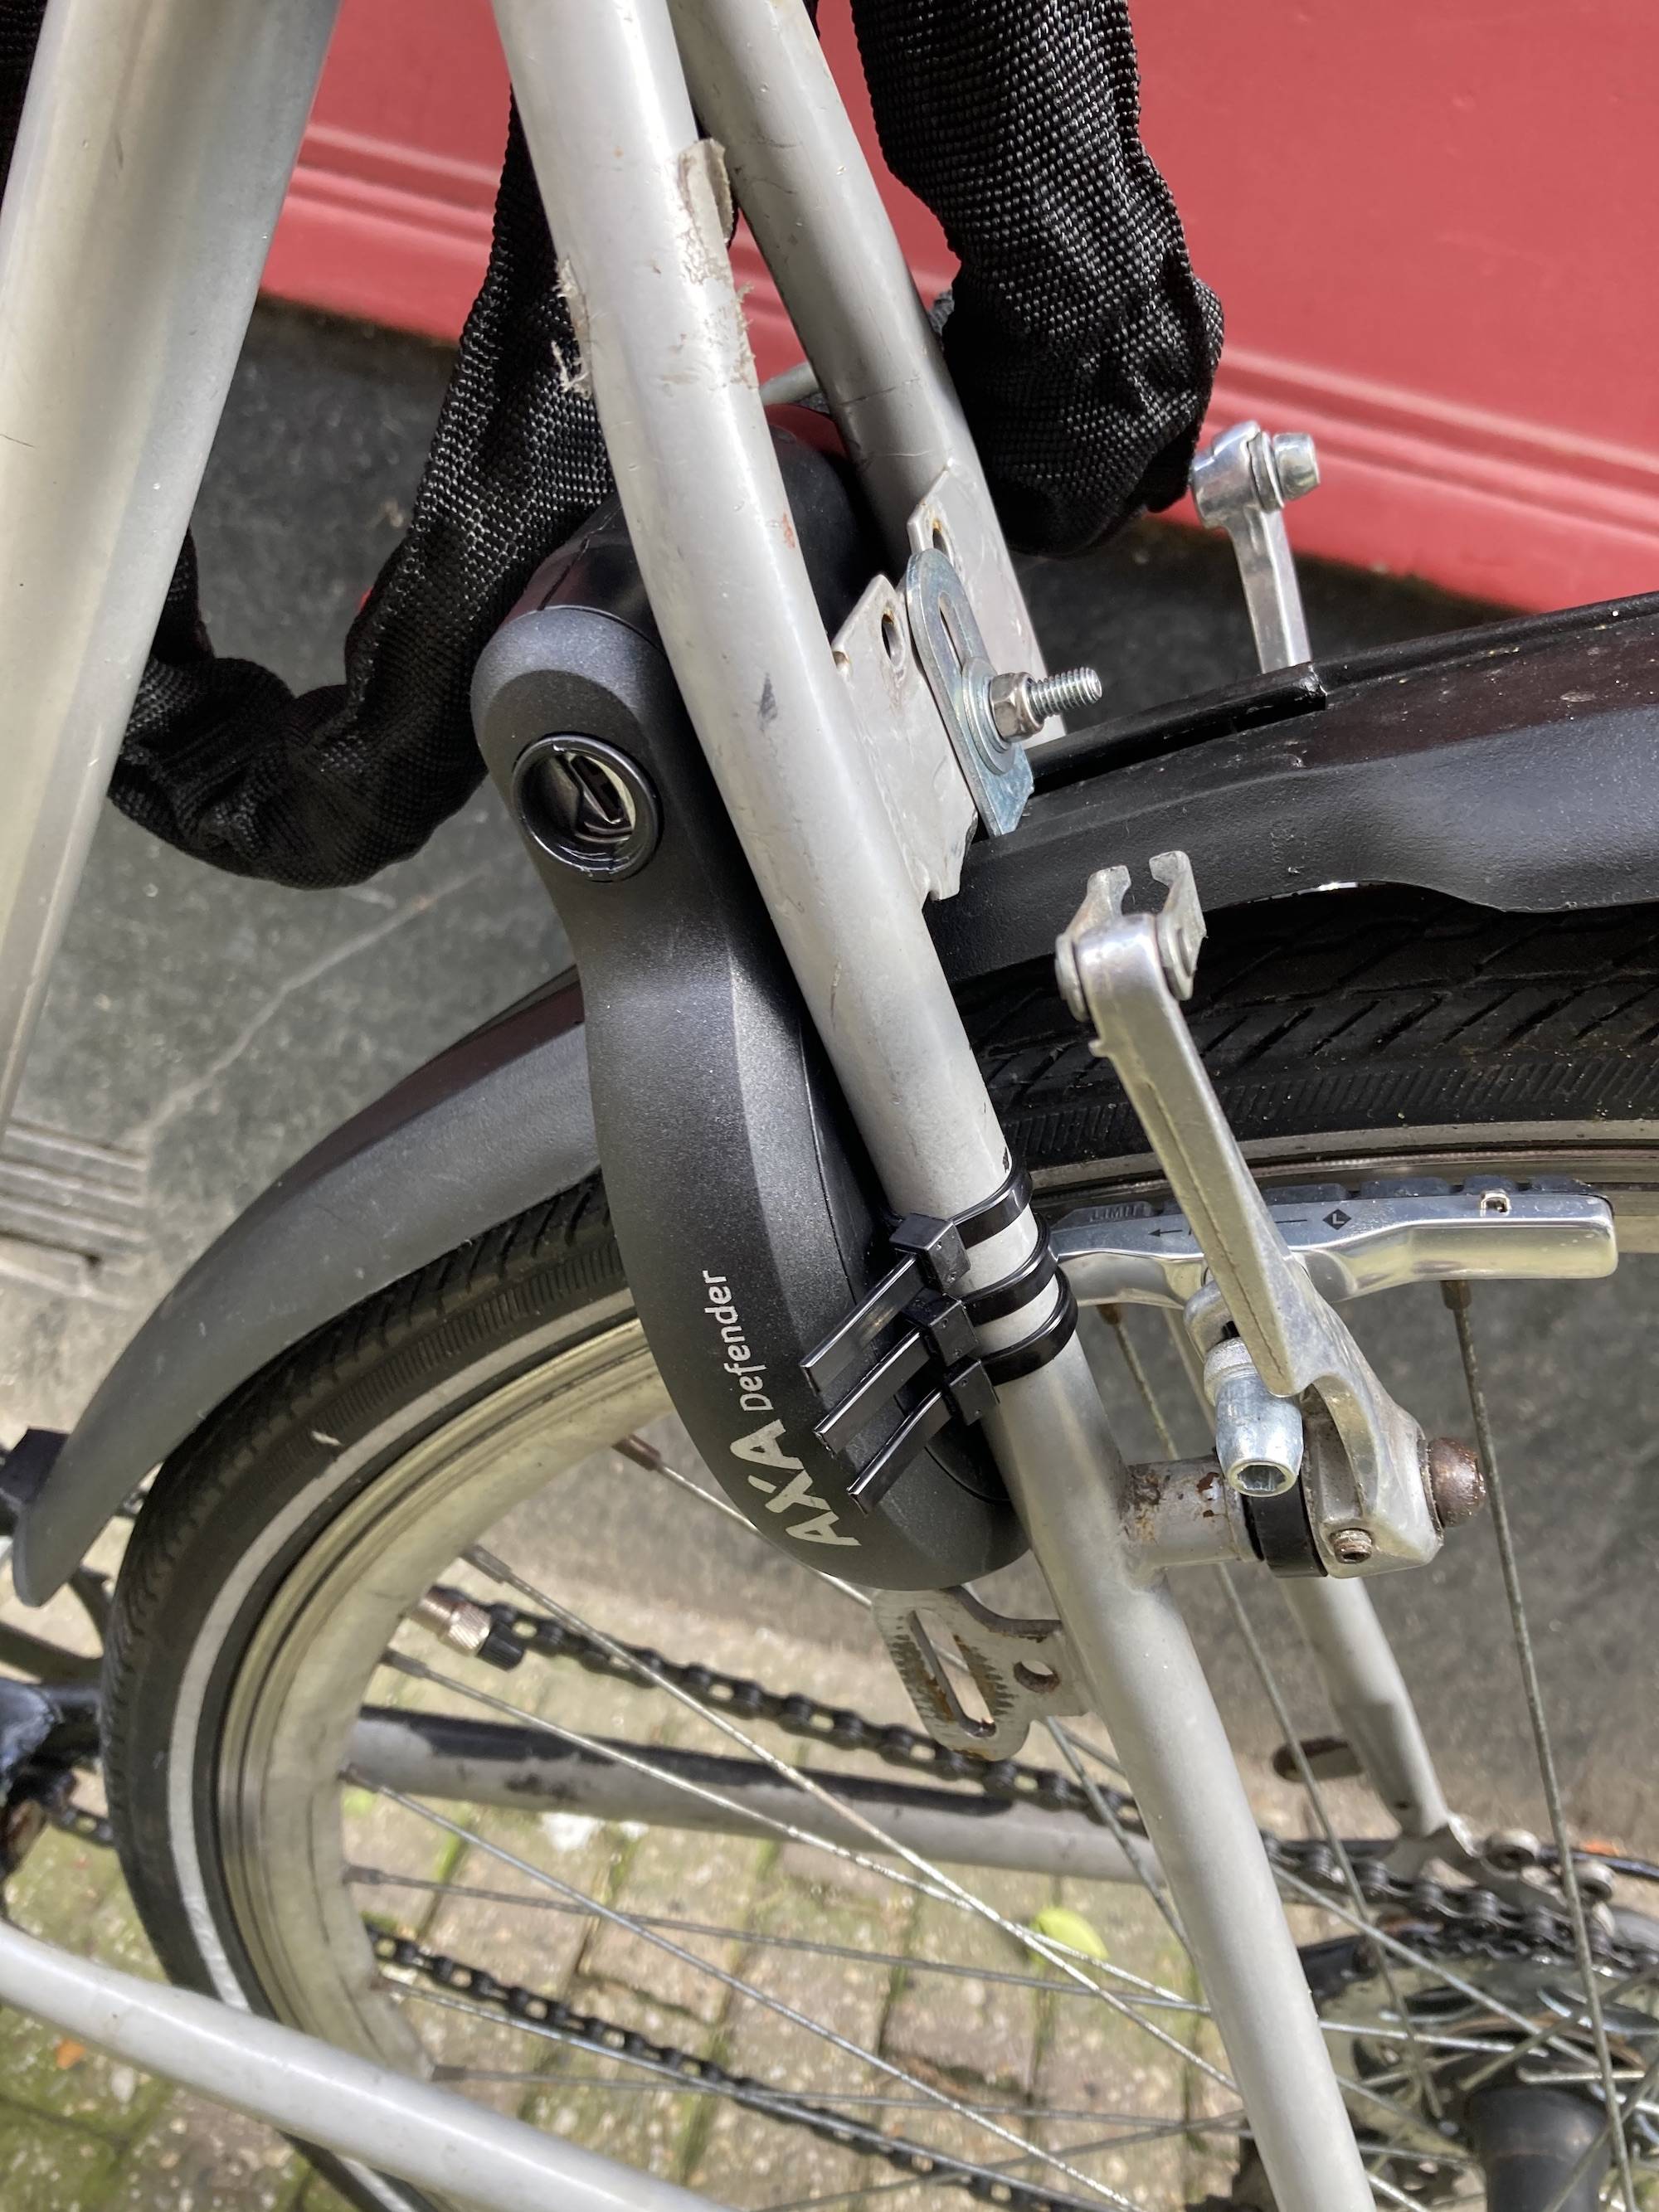
Attaching The Lock Bracket
Find the mounting spot on your bike frame. Usually, it is near the seat tube or rear wheel. Use the screws provided with the lock. Tighten the bracket firmly, but do not over-tighten. The bracket should not move once attached.
Securing The Lock To The Frame
Slide the lock into the bracket. Make sure it fits snugly and clicks into place. Check that the lock is aligned with the frame. Adjust if needed to avoid rubbing or noise. The lock should hold steady when the bike moves.
Testing The Lock Mechanism
Turn the key to lock and unlock the bike lock. Listen for a clear click sound each time. Try moving the lock to ensure it does not slip out. Test the lock several times to confirm smooth operation. Your bike is now safer with the lock installed.
Tips For Enhancing Security
Keeping your bike safe is important. Using a Dutch bike lock correctly helps a lot. Small steps can make your lock harder to break or steal. Follow easy tips to protect your bike better. These tips improve security and give you peace of mind.
Proper Lock Usage
Always lock your bike frame and one wheel to a fixed object. Avoid locking only the wheel or the seat. Make sure the lock fits tightly and cannot move easily. Check that the lock is fully closed before leaving. Use the strongest part of the frame for locking. Keep the key safe and never share it with strangers.
Additional Security Measures
Use more than one lock to make stealing harder. Add a cable lock to secure the other wheel or accessories. Park your bike in busy, well-lit areas. Avoid isolated or dark spots. Register your bike with local authorities or online databases. This helps to recover your bike if stolen. Consider using GPS trackers for extra safety. These small actions add layers of protection.
Maintaining Your Dutch Bike Lock
Maintaining your Dutch bike lock is key to keeping it working well. A well-cared-for lock lasts longer and keeps your bike safe. Small steps every few weeks can stop problems before they start.
Regular Cleaning
Clean your bike lock regularly to remove dirt and dust. Use a soft cloth and mild soap with water. Avoid harsh chemicals that can damage the lock’s surface. Dry the lock fully after cleaning to stop rust from forming. Dirt in the lock mechanism can cause it to jam.
Lubrication And Care
Lubricate the lock to keep the key turning smoothly. Use a graphite or silicone-based lubricant for best results. Spray a small amount inside the keyhole and on the moving parts. Wipe off any extra lubricant to prevent dirt buildup. Do this every few months or after rain exposure.
Frequently Asked Questions
What Tools Are Needed To Install A Dutch Bike Lock?
You only need a screwdriver and the lock components. No special tools are required. The process is simple and quick.
How Do I Position The Dutch Bike Lock Correctly?
Place the lock on the rear wheel frame. Ensure it doesn’t obstruct the tire or spokes. Position it for easy access.
Can I Install A Dutch Bike Lock Myself?
Yes, the installation is easy for most bike owners. Follow the instructions carefully. It usually takes less than 15 minutes.
How To Maintain My Dutch Bike Lock After Installation?
Keep the lock clean and dry. Lubricate the keyhole occasionally with graphite or light oil. Check for rust or damage regularly.
Conclusion
Installing a Dutch bike lock is simple and quick. Follow each step carefully for best results. A good lock keeps your bike safe and secure. Remember to check the lock regularly for wear. Practice locking and unlocking to get comfortable.
This small effort can save you big trouble later. Enjoy riding with peace of mind every day. Keep your bike protected wherever you go.


