
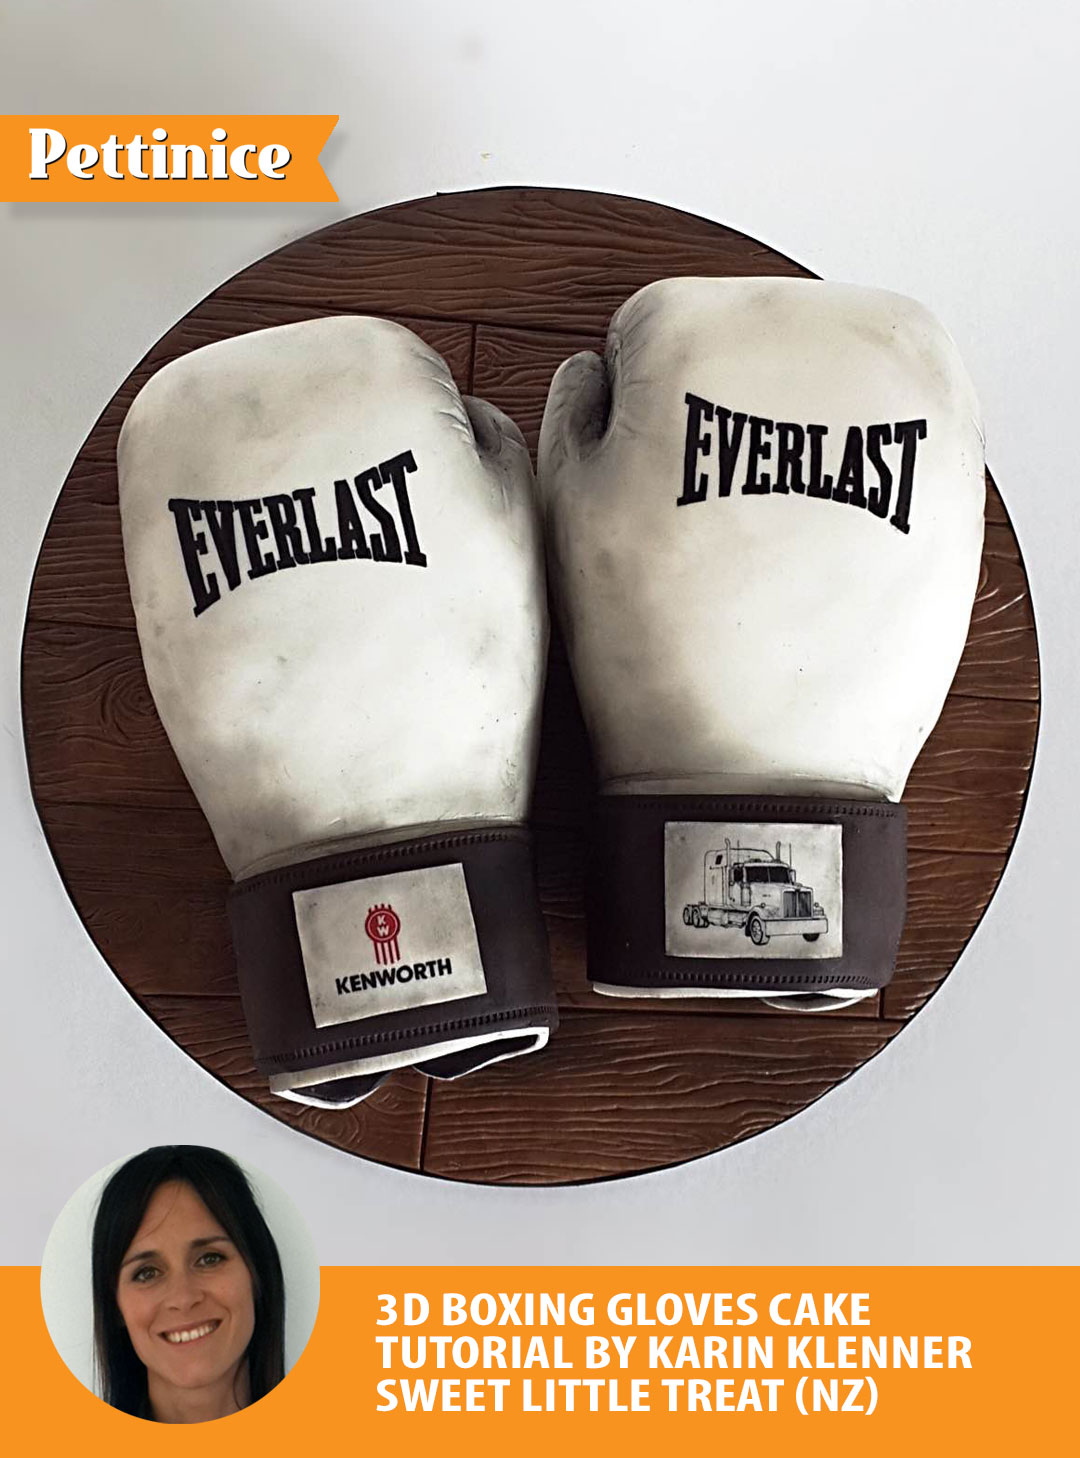
Are you ready to surprise your friends or family with a cake that packs a punch? Making a boxing glove cake is easier than you think, and it’s a fun way to celebrate any special occasion.
Whether it’s for a boxing fan, a sports party, or just to show off your baking skills, this cake will grab everyone’s attention. Keep reading, and you’ll learn simple steps to create a delicious and eye-catching boxing glove cake that everyone will love.
Let’s get started and make your next celebration unforgettable!
Gathering Ingredients And Tools
Starting a boxing glove cake requires careful preparation. Gathering all ingredients and tools first saves time. It ensures the baking process goes smoothly. Each item plays a key role in making the cake look perfect and taste great.
Focus on quality supplies and fresh ingredients. This helps create a cake that is both beautiful and delicious. Prepare your workspace with all tools ready before baking.
Essential Baking Supplies
Use a round cake pan for the glove shape. A serrated knife helps to carve details. Mixing bowls and measuring cups ensure accurate ingredient amounts. An electric mixer makes batter smooth and light. Have a spatula and offset icing knife for frosting. Parchment paper prevents sticking and eases cleanup.
Choosing The Right Cake Flavors
Pick flavors that suit your taste and occasion. Vanilla and chocolate are popular and easy to bake. Red velvet adds a bold color inside. Choose moist recipes for a soft texture. Avoid dry or crumbly cakes for better carving. Test recipes beforehand to get the best result.
Selecting Fondant And Food Colors
Fondant covers the cake smoothly and shapes details. Choose white fondant for easy color mixing. Use gel food colors for bright, rich shades. Red and black are classic boxing glove colors. Mix colors carefully to avoid staining your hands. Keep fondant wrapped to prevent drying out.
Baking The Cake Layers
Baking the cake layers is a key step in making a boxing glove cake. This part creates the base shape and texture of your cake. Each layer needs to be soft but firm enough to hold the shape. Careful baking ensures your cake looks great and tastes delicious.
Preparing The Batter
Start by gathering all ingredients at room temperature. This helps mix everything evenly. Use a simple vanilla or chocolate cake recipe. Beat the eggs and sugar until fluffy. Slowly add flour and baking powder. Mix gently to avoid too much air. The batter should be smooth and thick.
Baking Tips For Shape And Texture
Use round cake pans to get the glove shape. Grease the pans well to avoid sticking. Pour equal amounts of batter into each pan. Bake at a moderate temperature, around 350°F (175°C). Check the cakes after 25 minutes. Insert a toothpick in the center; it should come out clean. Avoid overbaking to keep the cake moist. Let the layers cool in the pans for 10 minutes before removing.
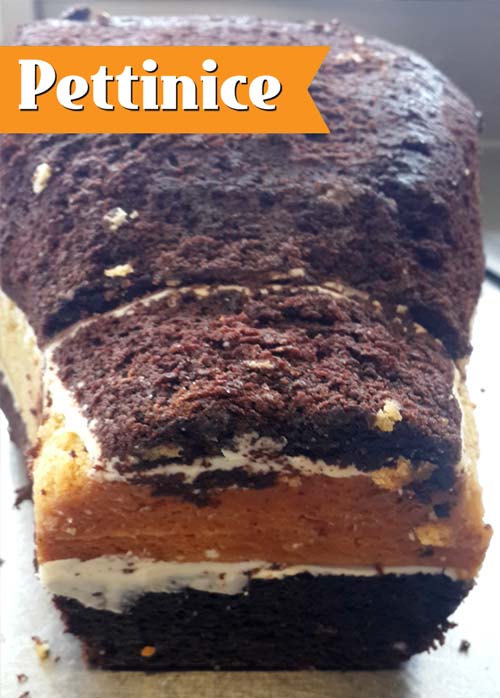
Cooling And Layering The Cake
Cool the cake layers completely on a wire rack. This stops them from breaking when stacking. Trim the tops to make layers flat. Use a serrated knife for better control. Spread frosting or filling between each layer. Press gently to keep the layers together. Chill the cake for 30 minutes before decorating. This makes the cake stable and easier to shape.
Shaping The Boxing Glove
Shaping the boxing glove is the most creative part of making this cake. It gives the cake its unique look and makes it stand out. Careful shaping helps the glove look real and impressive.
Focus on smooth curves and the right size. This step takes time but is very rewarding. Use simple tools and steady hands for the best results.
Carving The Cake Base
Start with a large rectangular cake as your base. Use a serrated knife to cut away extra cake. Shape the cake into a rough glove outline. Think about the rounded fingers and thumb areas. Work slowly to avoid cutting too much.
Building The Glove Structure
Add small cake pieces to create the glove’s bulk. Attach these pieces with a little frosting. Focus on the knuckle area and wrist padding. These parts give the glove a 3D effect. Press gently so the cake holds together well.
Smoothing The Surface
Cover the cake with a thin layer of frosting first. This layer fills small gaps and holds crumbs in place. Use a flat spatula to smooth the frosting evenly. Chill the cake to make the frosting firm. Then add a final smooth layer for a clean look.

Credit: www.youtube.com
Applying Frosting And Fondant
Applying frosting and fondant is a key step in creating a boxing glove cake. It shapes the look and feel of the cake. This step helps the cake look smooth and professional. Each layer adds texture and color.
Crumb Coating The Cake
Start with a thin layer of frosting called the crumb coat. It traps crumbs and stops them from mixing with the final frosting. Use a spatula to spread it evenly over the cake. Chill the cake for 15-30 minutes to set the crumb coat. This makes the next layers easier to apply.
Covering With Fondant
Roll out the fondant to a smooth sheet. Make sure it is big enough to cover the cake fully. Gently drape the fondant over the cake. Use your hands or a fondant smoother to press it down. Remove air bubbles by smoothing from the center outward. Trim the excess fondant at the base carefully for a clean edge.
Adding Color And Texture Details
Add color with edible paints or food coloring. Use brushes or sponges to create shading and highlights. Texture adds realism to the glove’s look. Press small tools or molds into the fondant to create stitches or wrinkles. These small details bring the boxing glove to life.
Creating Decorative Elements
Creating decorative elements brings your boxing glove cake to life. These small details make the cake look real and exciting. Focus on making the laces, adding logos, and using edible paint. These steps give the cake a professional finish. Each detail adds charm and shows your care in baking.
Take your time with decorations. They can turn a simple cake into a showstopper. Simple tools and a steady hand work well. Let’s explore how to create these decorative touches easily.
Making The Laces And Stitching
Use fondant or gum paste to make the laces. Roll thin strips and weave them like real laces. Press gently to attach the laces to the glove shape. For stitching, pipe small lines with royal icing. This adds texture and realism. Keep the lines even and neat for the best look.
Adding Logo And Lettering
Create the logo with colored fondant or edible markers. Cut small shapes or letters to match the design. Attach them carefully on the glove’s surface. Use a light brush of water or edible glue to stick pieces. Make letters clear and readable. This step personalizes the cake and makes it unique.
Enhancing With Edible Paint
Edible paint adds depth and shine to your cake. Use food coloring mixed with clear alcohol or lemon extract. Paint shadows and highlights on the glove’s curves. This makes the glove look more 3D and realistic. Apply paint in thin layers. Let each layer dry before adding the next.
Credit: www.pettinice.com
Final Touches And Presentation
Final touches and presentation make your boxing glove cake look amazing. These steps bring all parts together and set the stage for a great display. A neat finish helps your cake stand out and makes it ready to enjoy.
Assembling Cake Components
Start by stacking the cake layers carefully. Use frosting or buttercream to hold the layers tight. Shape the cake to look like a boxing glove. Smooth the edges with a spatula for a clean look. Attach fondant or icing details to add glove features. Let the frosting set before moving the cake.
Displaying The Cake Creatively
Choose a simple board or plate that fits the cake size. Place the cake in the center to draw attention. Add small props like boxing gloves or a ring for effect. Use colorful ribbons or edible glitter to enhance the look. Keep the display clean and neat to highlight the cake’s shape.
Storage And Serving Tips
Store the cake in a cool place to keep it fresh. Cover it lightly with plastic wrap or a cake dome. Avoid direct sunlight or heat to prevent melting. Cut the cake with a sharp knife for clean slices. Serve on small plates to share easily with guests.
Credit: www.pettinice.com
Frequently Asked Questions
How Do You Shape A Boxing Glove Cake?
To shape a boxing glove cake, bake a rounded cake. Carve it into a glove shape using a serrated knife. Smooth edges with frosting for a realistic look.
What Ingredients Are Needed For A Boxing Glove Cake?
You need basic cake ingredients like flour, sugar, eggs, and butter. Additionally, use red fondant, food coloring, and edible decorations for the glove design.
How Long Does It Take To Decorate A Boxing Glove Cake?
Decorating a boxing glove cake usually takes 1 to 2 hours. This includes shaping, crumb coating, applying fondant, and adding detailed decorations.
Can Beginners Make A Boxing Glove Cake Easily?
Yes, beginners can make it with simple steps. Use a basic cake recipe, shape carefully, and apply fondant slowly for best results.
Conclusion
Making a boxing glove cake can be fun and rewarding. Follow the steps carefully and take your time. Use simple tools and ingredients for the best result. Don’t rush the decorating part; details make it special. Share your cake with friends or family for smiles.
Practice helps you improve each time you bake. Enjoy the process and celebrate your creativity. This cake is perfect for boxing fans or sports parties. Give it a try—you might surprise yourself with your skills.

