Have you noticed those annoying scratches on your plastic glove box? They might seem small, but they can make your car’s interior look worn out and less cared for.
The good news is, you don’t have to live with them or spend a fortune replacing parts. You’ll discover simple, effective ways to remove those scratches and restore that smooth, clean look you want. Keep reading, and you’ll learn easy steps that anyone can follow to make your glove box look like new again.
Common Causes Of Glove Box Scratches
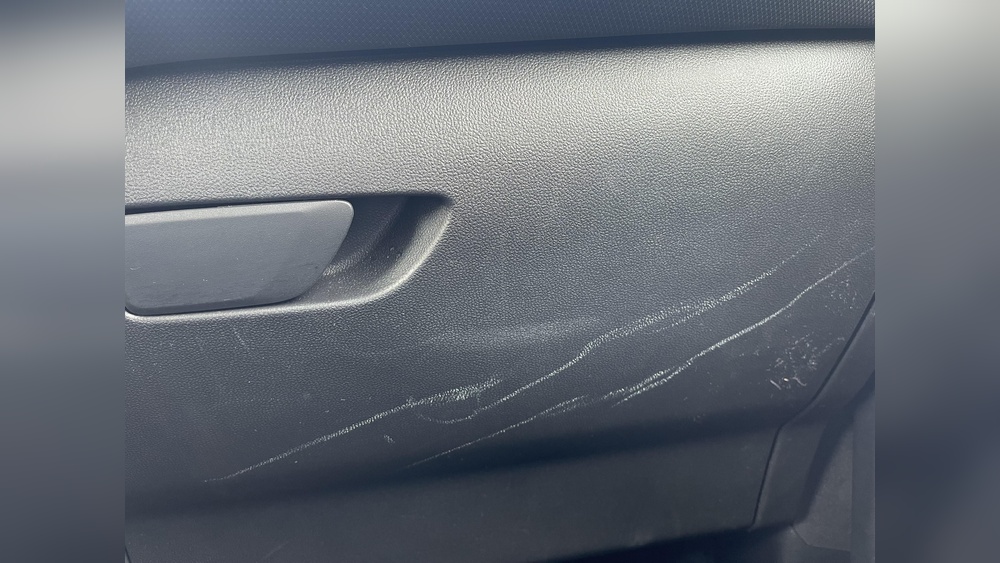
Scratches on a plastic glove box are common and frustrating. They make the interior look old and worn. Understanding what causes these scratches helps prevent them. Many everyday actions can leave marks on the surface. Knowing the causes is the first step to keeping your glove box clean and scratch-free.
Rough Objects Inside The Glove Box
Keys, pens, and coins are usual items stored inside. They move around while driving and rub against the plastic. This friction causes small scratches over time. Hard or sharp edges increase the risk of deeper marks.
Frequent Opening And Closing
Opening and closing the glove box many times a day can cause wear. Dust or dirt trapped in the hinge area may scratch the surface. Repeated contact with the latch or edges also adds to the damage.
Cleaning With Abrasive Materials
Using rough cloths or harsh scrubbing pads can scratch plastic easily. Some cleaning products contain chemicals that dull or damage the surface. Gentle cleaning tools and mild cleaners work better.
Sunlight And Heat Exposure
Direct sunlight can make plastic brittle and more prone to scratches. Heat causes the material to expand and weaken. This effect makes small scratches more visible and the surface less durable.

Credit: www.youtube.com
Materials Needed For Scratch Removal
Removing scratches from a plastic glove box requires some basic materials. Having the right tools makes the job easier and more effective.
These materials help smooth out the surface and restore the plastic’s look. Most items are easy to find and affordable.
Microfiber Cloth
A soft microfiber cloth is perfect for cleaning and polishing. It does not scratch the plastic further. Use it to apply polish and buff the surface.
Plastic Polish Or Scratch Remover
Plastic polish or a dedicated scratch remover works well on light scratches. These products fill small scratches and restore shine. Choose one made for plastic surfaces.
Fine Sandpaper
Fine sandpaper, like 1000 to 2000 grit, helps with deeper scratches. Use it gently to avoid making the scratch worse. Wet sanding is best for plastic.
Soap And Water
Soap and water clean dirt and dust from the glove box. Clean the area before starting scratch removal. This prevents dirt from causing more damage.
Water Spray Bottle
A spray bottle with water is handy for wet sanding. Keep the surface wet to reduce friction and heat. This protects the plastic during sanding.
Plastic Cleaner
Plastic cleaner removes grease and leftover polish. It prepares the surface for a smooth finish. Use it after sanding and polishing for best results.
Cleaning The Glove Box Surface
Cleaning the glove box surface is the first step to remove scratches. Dirt and dust can hide scratches and make them worse. A clean surface helps to see the damage clearly. It also prepares the plastic for repair. Use gentle methods to avoid creating new marks.
Gather Soft Cleaning Materials
Choose a soft cloth or microfiber towel. Avoid rough materials that can scratch the plastic. Use mild soap mixed with water. Harsh chemicals can damage the glove box surface. A soft brush can help reach corners.
Remove Loose Dirt And Dust
Wipe the surface gently to remove loose dirt. Use a dry cloth first to avoid smearing dirt. Then, dampen the cloth with soapy water. Clean in small sections for better control. Rinse the cloth often to avoid spreading grime.
Dry The Surface Thoroughly
After cleaning, dry the glove box with a clean, dry cloth. Moisture can cause streaks or water spots. Make sure no soap residue remains. A dry surface is ready for scratch removal steps.

Credit: www.reddit.com
Using Heat To Reduce Scratches
Heat can help lessen scratches on a plastic glove box. It works by softening the plastic surface. This makes small scratches blend into the material. The process takes a steady hand and careful attention.
Using heat is a gentle way to improve the look of scratched plastic. It does not need any special tools. A simple heat source and some patience can do the job.
Choosing The Right Heat Source
Pick a heat source that is easy to control. A hairdryer or heat gun works well. Avoid using anything too hot like a lighter. Too much heat can melt or damage the plastic. Keep the heat low and steady for best results.
Preparing The Glove Box Surface
Clean the glove box with a soft cloth first. Remove dirt and dust to avoid further scratches. Make sure the surface is dry before applying heat. This helps the plastic soften evenly.
Applying Heat To The Scratches
Hold the heat source about six inches away from the plastic. Move it slowly over the scratched area. Do not stay in one spot too long. Watch the plastic closely for changes. The surface will become smooth as it warms.
Finishing Touches After Heating
Let the plastic cool naturally after heating. Avoid touching the area until it is fully cool. Use a microfiber cloth to gently buff the surface. This will remove any remaining marks and restore shine.
Applying Plastic Polish And Scratch Remover
Applying plastic polish and scratch remover is a simple way to fix scratches on a glove box. These products help smooth the surface and make scratches less visible. They work by gently rubbing away the top layer of plastic or filling in small scratches. This process can restore the glove box’s look without replacing it.
Choosing The Right Plastic Polish
Pick a plastic polish made for car interiors. Some polishes are too harsh and can damage the plastic. Look for a product labeled safe for plastics. This ensures it cleans and polishes without causing harm. Always check reviews or ask for advice if unsure.
Preparing The Glove Box Surface
Clean the glove box before applying polish. Use a soft cloth and mild soap to remove dust and dirt. Dry the surface completely. Dirt can cause more scratches during polishing. A clean surface helps the polish work better and last longer.
Applying The Scratch Remover
Apply a small amount of scratch remover on a soft cloth. Rub it gently on the scratched area in a circular motion. Use light pressure to avoid making scratches worse. Continue for a few minutes until the scratches start to fade. Wipe off any excess product with a clean cloth.
Buffing For A Smooth Finish
Buff the area with a dry, soft cloth after applying polish. This step removes leftover product and shines the surface. Use small, circular motions to even out the finish. Buffing helps the glove box look smooth and new.

Credit: www.reddit.com
Buffing Techniques For A Smooth Finish
Buffing is a key step to remove scratches from a plastic glove box. It helps smooth the surface and improve its look. This process uses gentle rubbing and special products to reduce marks. Buffing brings back shine and makes scratches less visible.
Careful buffing can restore the glove box without causing more damage. It works best on light to medium scratches. The right tools and techniques make the process easy and safe.
Choosing The Right Buffing Materials
Select soft cloths or foam pads for buffing. Microfiber cloths work well because they do not scratch the plastic. Avoid rough materials that can worsen the damage.
Use a mild polishing compound designed for plastics. These compounds help smooth the surface gently. Harsh chemicals can harm the plastic, so choose products carefully.
Preparing The Glove Box Surface
Clean the glove box with soap and water before buffing. Dirt and dust can cause more scratches during the process. Dry the surface completely to ensure the polish sticks well.
Inspect the scratches to understand how deep they are. Light scratches need less effort, while deeper ones may need extra steps.
Buffing Step-by-step Process
Apply a small amount of polishing compound on the cloth. Use circular motions to rub the scratched area gently. Keep the pressure light to avoid damage.
Buff for a few minutes, then check the results. Repeat if necessary but avoid over-buffing. Wipe the area clean with a dry cloth after finishing.
Diy Remedies For Minor Scratches
Minor scratches on a plastic glove box can make your car interior look old. Fixing these scratches does not need special tools or expensive products. Simple DIY remedies work well for small scratches. These easy methods help restore the smooth look of your glove box. Try these steps to bring back the shine and hide the scratches quickly.
Using Toothpaste To Buff Out Scratches
Toothpaste is a gentle abrasive that can smooth small scratches. Apply a small amount of white, non-gel toothpaste to a soft cloth. Rub the scratched area with light, circular motions. Keep rubbing for about one minute. Wipe off the toothpaste with a damp cloth. Dry the area and check if the scratch is less visible. Repeat if needed for better results.
Applying Baking Soda Paste
Baking soda can remove minor scratches and scuffs effectively. Mix baking soda with water to make a thick paste. Use a soft cloth to apply the paste to the scratched spot. Rub gently in circular movements for about 30 seconds. Clean the paste with a wet cloth. Dry the surface and inspect the scratch. Repeat the process for deeper scratches.
Using Plastic Polish Or Scratch Remover
Plastic polish products are designed to fix small surface damages. Buy a plastic polish or scratch remover suitable for car interiors. Put a small amount on a microfiber cloth. Gently rub the polish over the scratched area. Use circular motions and light pressure. Let the polish dry for a few minutes. Wipe off any residue with a clean cloth. The scratch should appear less noticeable.
Preventing Future Scratches
Preventing scratches on your plastic glove box keeps it looking new longer. Small habits help avoid damage and save time on repairs. Careful handling and protective steps reduce the risk of future scratches.
Simple actions protect the surface and keep the glove box smooth. Follow these tips to maintain its clean, scratch-free look.
Use A Soft Cloth For Cleaning
Always clean the glove box with a soft, microfiber cloth. Avoid rough materials like paper towels. They can cause tiny scratches. Use gentle circular motions to wipe dust and dirt away.
Avoid Sharp Or Hard Objects Inside
Keep keys, pens, and tools out of the glove box or inside a pouch. Hard or sharp items can scratch the plastic when the glove box opens or closes. Organize items to prevent rubbing against the surface.
Apply A Protective Coating
Use a plastic-safe protectant spray to add a thin layer of protection. This reduces friction and shields the surface from scratches. Reapply the coating every few months for best results.
Handle The Glove Box Gently
Open and close the glove box slowly and carefully. Avoid slamming it shut. Rough handling increases the chance of scratches and damage. Treat it with care to keep it intact.
Frequently Asked Questions
How Can I Remove Light Scratches From A Plastic Glove Box?
Use a mild abrasive like toothpaste or baking soda paste. Apply gently with a soft cloth in circular motions. Wipe clean and dry. This method smooths minor scratches without damaging the plastic surface.
What Household Items Help Remove Plastic Glove Box Scratches?
Common items like toothpaste, baking soda, or plastic polish work well. These abrasives gently buff out scratches. Always test on a small area first to avoid damage. Use soft cloths for application and polishing.
Can Plastic Scratch Removers Fix Deep Glove Box Scratches?
Plastic scratch removers can improve deeper scratches but may not fully eliminate them. Multiple applications might be needed. For severe damage, professional repair or replacement may be best.
Is It Safe To Use Automotive Polish On Glove Box Plastic?
Yes, automotive polish designed for plastics can safely remove scratches. Use a small amount with a microfiber cloth. Avoid harsh chemicals or abrasive pads that can worsen damage.
Conclusion
Removing scratches from a plastic glove box is easier than it seems. Use simple tools and gentle methods to fix the damage. Take your time and work carefully for the best results. Small scratches can disappear with just a little effort.
Keep your glove box looking clean and smooth by acting quickly. This helps maintain your car’s neat and tidy appearance. Try these tips to keep your plastic surfaces scratch-free and fresh. Your glove box will look better in no time.