Have you ever wanted to draw boxing gloves in a fun, cartoon style but didn’t know where to start? You’re in the right place.
This guide will show you simple, step-by-step tips that make drawing boxing gloves easy and enjoyable—even if you’ve never picked up a pencil before. By the end, you’ll have a cool cartoon image you can be proud of. Ready to surprise yourself with your own creative skills?
Let’s get started!
Materials Needed
To draw cartoon boxing gloves, gather a pencil, eraser, and paper. Colored markers or crayons help add bright colors. A sharpener keeps your pencil ready for details.
Basic Drawing Tools
Start with simple tools. A pencil works best for sketching outlines. Choose a pencil that is easy to erase. A sharp tip helps create clean lines. An eraser is also important to fix mistakes.
Paper Type
Use smooth drawing paper. It makes your lines look neat. Avoid rough or textured paper. It can make drawing harder. Standard white printer paper is fine for practice.
Coloring Supplies
Colored pencils add bright, clear colors. Markers create bold and vivid shades. Crayons give a soft, textured look. Pick tools that you feel comfortable using.
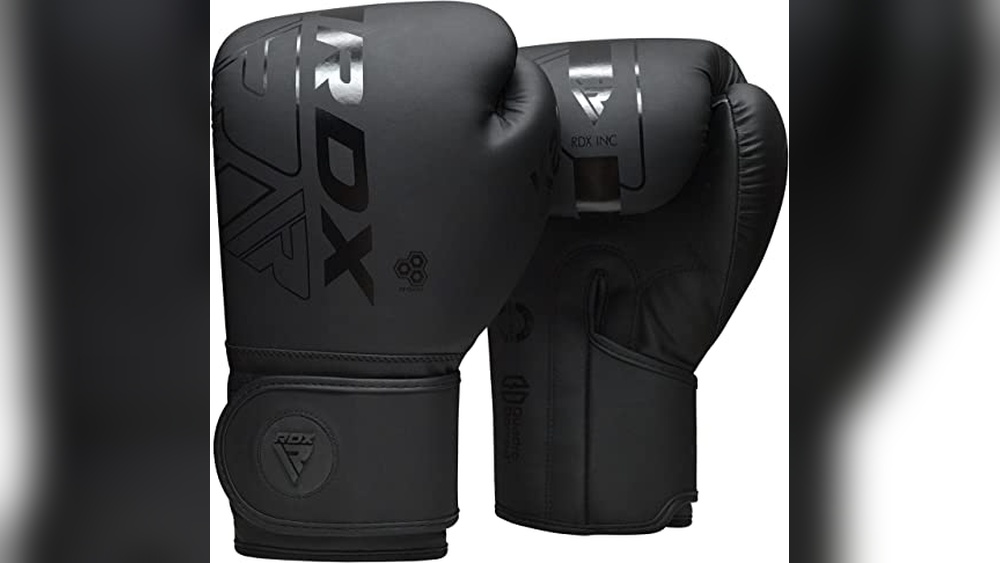
Reference Images
Keep pictures of boxing gloves nearby. They help you understand shapes and details. Use simple cartoon images for easy study. This guides your drawing step by step.
Credit: www.alamy.com
Basic Shapes
Starting with basic shapes makes drawing boxing gloves easier. Shapes form the foundation of your cartoon glove. Simple circles, ovals, and rectangles help create the right structure. These shapes guide your lines and details later.
Break down the glove into parts. Each part starts with a simple shape. This method keeps your drawing clean and balanced. It also helps you draw gloves that look fun and lively.
Circle For The Main Glove Body
Begin with a large circle. This circle forms the main part of the glove. It shows the padded knuckle area. Keep it smooth and round to show softness.
Oval For The Thumb
Draw an oval shape next to the circle. This oval becomes the thumb. Position it slightly tilted to the side. This adds a natural look to the glove.
Rectangle For The Wrist Strap
Use a small rectangle below the circle. This shape is the wrist strap. It holds the glove tight on the hand. Make it slightly curved for a wrapped effect.
Connecting Shapes With Curved Lines
Join your shapes with smooth, curved lines. Avoid sharp angles for a soft, padded feel. These curves shape the glove’s unique style. They create the illusion of volume and comfort.
Sketching The Outline
Sketching the outline is the first step in drawing cartoon boxing gloves. This stage sets the shape and style for your drawing. Keep your pencil light and use simple shapes. The goal is to capture the basic form before adding details.
Focus on smooth lines and clear shapes. This approach helps to create a clean and easy-to-follow drawing. Start with the main body of the glove, then add smaller parts like the thumb.
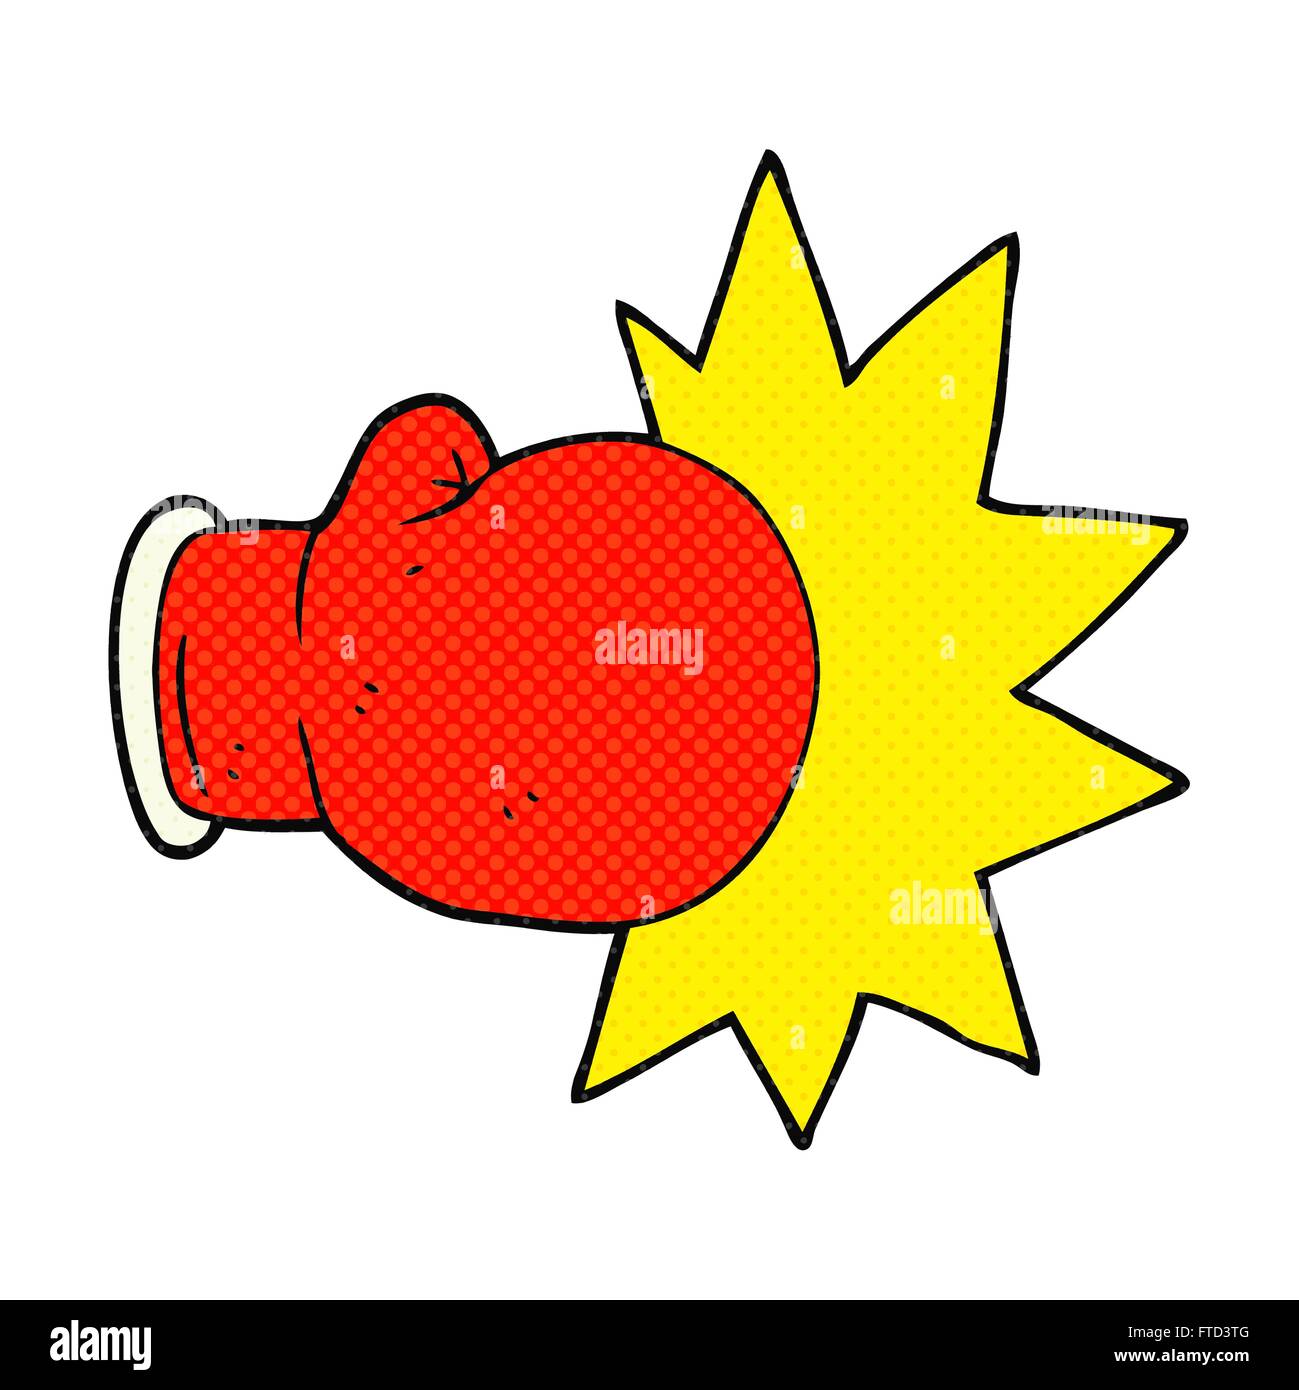
Drawing The Glove Body
Begin with a large oval for the glove’s main body. Make the shape rounded to show the soft padding. The bottom should be slightly flat to show where the glove ends near the wrist. Keep the lines smooth and simple. This gives the glove a friendly, cartoon look.
Next, sketch a small curve on the top side. This helps to create the folded look of the glove’s knuckles. Avoid sharp angles. Round shapes work better for cartoons.
Adding The Thumb
Draw the thumb as a small oval attached to the side of the glove body. Place it near the top, slightly to the front. The thumb should curve inward to show it wrapping around an imaginary fist.
Connect the thumb smoothly to the main glove body. Use gentle curves to keep the look soft and natural. The thumb adds character and makes the glove more realistic.
Credit: www.citypng.com
Detailing The Glove
Detailing the boxing glove brings your cartoon to life. It adds depth and realism to the simple shape. Small touches make the glove look soft and worn. This section shows how to draw wrinkles, seams, and the wrist strap. These details give your glove character and style.
Creating Wrinkles And Seams
Start by drawing light curved lines across the glove surface. Wrinkles appear where the glove bends or folds. Focus on the knuckle area and near the thumb. Use short, soft strokes to keep wrinkles natural. Add seams by drawing thin lines along the glove edges. Seams show where the glove pieces are stitched together. Keep these lines neat and slightly curved to follow the glove shape.
Adding The Wrist Strap
The wrist strap secures the glove and adds realism. Draw a wide band wrapping around the wrist base. Show the strap slightly overlapping the glove body. Add a small rectangle or square to represent the fastening patch. Use parallel lines to define the strap edges. This detail makes the glove look complete and functional.
Inking The Drawing
Start by tracing your pencil sketch with a black pen to make the lines clear and bold. Focus on smooth, confident strokes to define the shape of the boxing gloves. Small details like seams and highlights bring your cartoon gloves to life.
Preparing To Ink Your Boxing Gloves Drawing
Inking gives your cartoon gloves a clean, bold look. It makes the lines stand out clearly. Start by choosing the right pen or brush. Use fine liners or ink pens that feel comfortable in your hand. Have an eraser ready to remove pencil marks after inking.
Work in a well-lit space. Good light helps you see details better. Take your time and keep your hand steady. This step sets the foundation for the final look.
Tracing The Pencil Lines With Ink
Begin by slowly tracing over your pencil sketch. Follow the lines carefully without rushing. Use smooth, steady strokes for clean outlines. Vary line thickness to add depth and interest. Thicker lines work well for the glove’s outer edges. Thin lines suit smaller details inside the glove.
Avoid pressing too hard to prevent ink blots. Let the pen flow naturally across the paper. Keep your wrist relaxed to maintain control.
Adding Details And Texture
After outlining, add small details to bring the gloves to life. Draw stitches, folds, and creases with thin lines. These details create a realistic feel. Use dots or short lines to show texture on the glove’s surface. Keep details simple but clear to avoid clutter.
Remember, subtle texture enhances the cartoon style. Balance detail with clean spaces to keep your drawing neat.
Credit: www.freepik.com
Coloring Tips
Coloring your cartoon boxing gloves brings life and personality to your drawing. Simple colors can look bold and fun. Using the right colors and shading makes the gloves look more real and interesting. This section helps you pick colors and use shading to give your gloves depth and style.
Choosing Colors
Pick bright colors for a classic cartoon feel. Red is popular for boxing gloves, but blue and green work well too. Use one main color for the glove. Choose a lighter shade for the thumb and knuckles. This adds contrast. Keep your palette limited to two or three colors. This keeps the drawing clean and clear.
Shading Techniques
Shade areas where light does not hit directly. Use a darker tone of your main color under the wrist and on the edges. Blend the shades gently for smooth transitions. Add small white spots or lines for highlights. These show where light reflects. Avoid heavy shading to keep the cartoon style simple and fun.
Common Mistakes To Avoid
Drawing boxing gloves in a cartoon style is fun but can be tricky. Many beginners make simple mistakes that change the look of the gloves. Avoiding these errors helps your drawing look more real and lively. Here are some common mistakes to watch out for.
Not Drawing The Correct Shape
Boxing gloves have a round, puffy shape. Drawing them too flat or too thin makes them look wrong. Focus on soft curves and rounded edges. This gives the gloves a soft and padded feel.
Ignoring The Thumb Position
The thumb is important. It should curve naturally towards the main glove. Placing the thumb straight or too far away looks strange. Draw the thumb close and slightly bent to add realism.
Skipping Details On The Wrist Area
The wrist part of boxing gloves is thick and strong. Leaving it plain or too thin makes the gloves look weak. Draw the wrist strap and padding with clear lines to show support.
Using Too Many Lines
Cartoon style means simple and clean. Adding many lines can confuse the shape. Use only the necessary lines to show folds or seams. Keep it neat and easy to understand.
Forgetting The Glove’s Volume
Boxing gloves look soft but full of volume. Drawing them flat loses this effect. Add shading or curved lines to show the 3D shape. This makes your gloves pop out on the page.
Frequently Asked Questions
How Do I Start Drawing Boxing Gloves Cartoon?
Begin by sketching basic shapes like ovals and rectangles. Outline the glove’s form, focusing on the thumb and padding areas. Keep lines light for easy adjustments before adding details.
What Materials Are Best For Drawing Boxing Gloves Cartoon?
Use pencils for initial sketches and fine liners for outlines. Colored markers or digital tools work well for vibrant shades. Quality paper or a digital tablet enhances the final result.
How Can I Add Depth To My Cartoon Boxing Gloves?
Add shading to show light and shadow on curves. Use darker tones on glove creases and lighter colors on raised areas. This technique creates a 3D, realistic effect.
What Colors Are Ideal For Boxing Gloves Cartoons?
Red, blue, and black are classic boxing glove colors. Choose bright, bold hues to make your gloves eye-catching. You can also experiment with custom colors for unique designs.
Conclusion
Drawing boxing gloves cartoon style can be fun and simple. Follow each step with care and patience. Practice shapes and lines to improve your skills. Use colors to make your gloves look bright and lively. Keep trying, and your drawings will get better fast.
Enjoy the process and share your art with friends. Drawing helps you relax and express creativity. Keep your pencil ready for the next drawing adventure!