Is your Rockymounts bike rack lock core stuck, leaving you frustrated and unable to secure your bike? You’re not alone, and the good news is, you don’t have to call a locksmith just yet.
In this guide, you’ll discover simple, effective steps to fix your stuck lock core quickly. By the end, you’ll regain full control of your bike rack and protect your gear without stress. Keep reading to learn how to solve this common problem easily and get back on the road with confidence.
Identifying The Problem
Before fixing a stuck Rockymounts bike rack lock core, you need to know the problem. Understanding the issue helps you fix it faster. A stuck lock core stops the lock from turning or opening smoothly. This can cause frustration and delay your plans.
Checking for signs and causes makes the repair clear. It also helps prevent future problems with your bike rack lock. Let’s explore the signs of a stuck lock core and the common reasons behind it.
Signs Of A Stuck Lock Core
The lock key does not turn or feels very tight. You may hear a clicking sound but no movement. The key might get stuck inside the lock core. Sometimes, the lock core feels jammed or frozen. These signs show the lock core is stuck and needs attention.
Common Causes
Dirt and debris inside the lock core block the mechanism. Rust or corrosion can make the lock core stiff. Lack of lubrication causes parts to stick together. Using the wrong key or forcing the lock can damage it. Extreme weather like cold or moisture also affects the lock core’s function.
Tools And Materials Needed
Fixing a stuck Rockymounts bike rack lock core needs the right tools and materials. Having these ready makes the process faster and easier. Prepare before starting to avoid interruptions. This section lists what you need to gather.
Essential Tools
- Flathead screwdriver to gently pry the lock core.
- Needle-nose pliers for gripping small parts.
- Paper clips or small picks to move internal pins.
- Compressed air can to blow out dirt and debris.
- Clean cloths or rags to wipe components.
- Small container to keep removed parts safe.
Recommended Lubricants
- Graphite powder is safe and effective for locks.
- Silicone spray helps reduce friction without attracting dust.
- Light machine oil can loosen stuck parts gently.
- Avoid thick grease that can clog the lock mechanism.
- Use lubricants sparingly to prevent build-up inside the lock.
Preparation Steps
Before fixing a stuck Rockymounts bike rack lock core, take time to prepare. Good preparation makes the repair easier and safer. It helps avoid damage to your bike rack or lock. Follow these steps carefully for best results.
Cleaning The Lock Area
Start by cleaning around the lock core. Dirt and grime can block the key or core movement. Use a soft brush or cloth to remove loose dirt. Avoid using water directly on the lock. Instead, use a small amount of rubbing alcohol on a cloth. This cleans without causing rust or damage. Let the area dry before moving to the next step.
Ensuring Safety
Wear gloves to protect your hands during the repair. Work in a well-lit area to see the lock clearly. Keep all small parts on a flat surface to avoid losing them. Ensure the bike rack is stable and will not move while you work. Take your time and do not force the lock. This reduces the risk of breaking parts or hurting yourself.
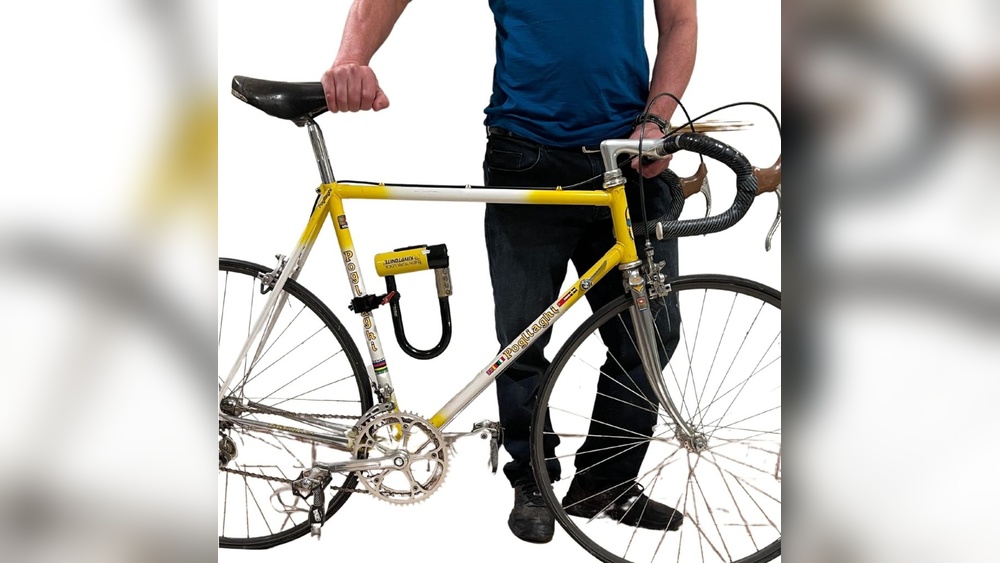
Credit: www.pinkbike.com
Lubricating The Lock Core
Lubricating the lock core is a key step to fix a stuck Rockymounts bike rack lock. Dirt and grime build up inside the lock over time. This can make the lock hard to turn or stuck. A proper lubricant helps the lock parts move smoothly again. It also protects the lock from rust and wear. Using the right lubricant and applying it carefully brings the best results.
Applying Lubricant Correctly
Choose a lubricant made for locks, like graphite or silicone spray. Avoid oil-based lubricants; they attract dirt. Insert the lubricant nozzle into the keyhole. Spray a small amount inside the lock core. Insert the key gently and turn it back and forth. This spreads the lubricant inside. Repeat the process a few times for full coverage.
Waiting Time For Effectiveness
After applying the lubricant, wait for it to work. Let the lubricant sit inside the lock for 10 to 15 minutes. This time allows the lubricant to break down dirt and loosen stuck parts. Try turning the key gently after the wait. If still stiff, apply a little more lubricant and wait again.
Manual Techniques To Free The Lock
Manual techniques can help free a stuck Rockymounts bike rack lock core. These methods work without special tools. They focus on gentle movements to avoid damaging the lock. Patience is key to avoid causing more problems.
Start with small, careful actions. These can loosen internal parts and allow the lock to turn again. Try these simple steps before calling for professional help.
Gentle Tapping Methods
Tap the lock body softly using a small tool like a screwdriver handle. Use light, controlled taps to avoid damage. The tapping can help dislodge dirt or debris inside the lock.
Tap around the keyhole and on the lock core itself. This might free stuck pins or springs inside the mechanism. Repeat gently several times, checking if the key moves.
Wiggling The Key
Insert the key fully into the lock. Move it back and forth slowly in small motions. This can help align the lock pins correctly. Avoid forcing the key hard; this can break it inside.
Wiggling loosens stuck parts inside the core. Try gentle pressure while turning the key slightly. This technique often frees minor jams and lets the lock work again.
Disassembling The Lock Core
Disassembling the lock core is the first key step to fix a stuck Rockymounts bike rack lock. This process lets you access the inside parts that may cause the lock to jam. Careful handling is important. It prevents damage and helps the lock work smoothly again.
Step-by-step Removal
Start by removing the lock from the bike rack. Use the key and turn it gently to the unlock position. Find the retaining clip or screw that holds the lock core in place. Use a small screwdriver or pliers to remove it carefully. Pull the lock core straight out of the housing. If it feels stuck, wiggle it slightly without forcing. Keep all small parts safe for reassembly.
Handling Internal Components
Inside the lock core, you will see pins, springs, and the cylinder. Handle these parts gently. Lay them out in order on a clean surface. Check for dirt, rust, or broken pieces that block movement. Use a small brush or compressed air to clean the parts. Avoid using too much force when removing springs. Keep everything organized to avoid confusion when putting it back.
Cleaning And Inspecting Internal Parts
Cleaning and inspecting the internal parts of your Rockymounts bike rack lock core is key to fixing a stuck lock. Dirt, dust, and small debris can block the lock’s mechanism. Checking for any damage inside can also prevent future problems. Taking time to clean and inspect helps the lock work smoothly again.
Removing Debris
Start by gently blowing into the lock core to remove loose dirt. Use a small brush or compressed air to clear out dust and grime. Avoid using water as it can cause rust. Clear out every bit of debris to ensure the lock pins move freely. Keep the lock core dry during this process.
Checking For Damage
Look carefully at the lock core’s internal parts for wear or broken pieces. Check the pins and springs for any bending or cracks. A damaged part may stop the lock from turning. Replace any worn parts to restore the lock’s function. Regular inspection can catch problems early and save you time.

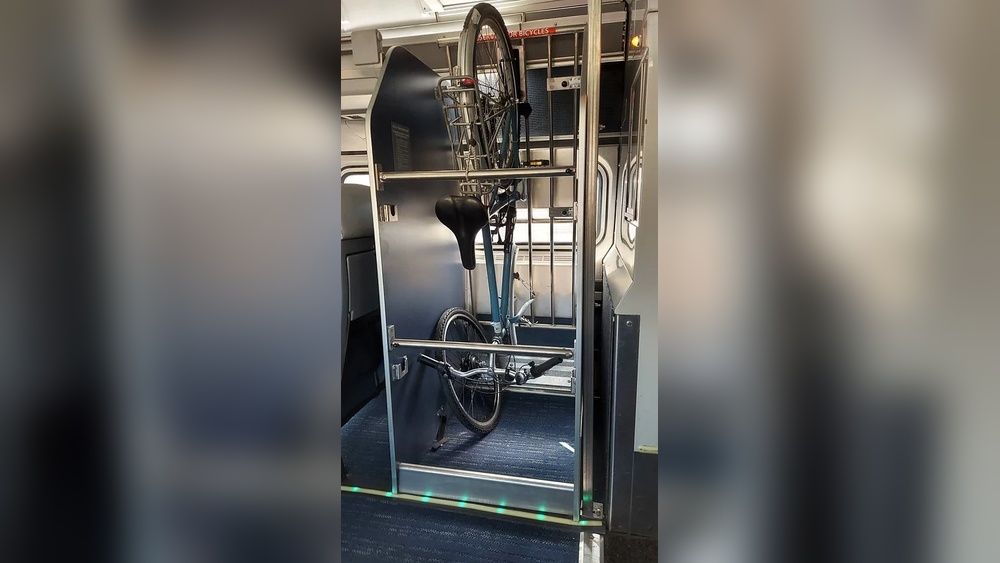
Credit: rockymounts.com
Reassembling And Testing
After cleaning and fixing the stuck lock core, the next step is reassembling and testing. This step ensures the lock works smoothly and safely. Careful reassembly helps avoid future problems. Testing confirms the repair was successful.
Proper Reassembly Tips
Start by placing all parts in the right order. Use the guide or manual if available. Make sure the pins and springs are correctly aligned. Do not force any part. Tighten screws gently to avoid damage. Check that the lock core fits snugly in the housing. Keep parts clean and free of dirt. Work slowly to avoid missing any steps.
Lock Function Test
Insert the key and turn it several times. The lock should turn smoothly without resistance. Lock and unlock multiple times to check consistency. Test the lock core inside the bike rack. Ensure the rack secures firmly and releases easily. If you feel any sticking or jamming, disassemble and check again. Confirm the lock works before final use.
Preventive Maintenance Tips
Preventive maintenance keeps your Rockymounts bike rack lock cores working smoothly. Regular care stops problems before they start. Small steps protect your locks and save time. Follow these simple tips to avoid stuck lock cores.
Regular Lubrication Schedule
Apply lubricant to the lock core every three months. Use a silicone-based or graphite lubricant designed for locks. Avoid oil-based products that attract dust and dirt. Spray a small amount into the keyhole and insert the key. Turn the key several times to spread lubricant inside. This keeps the lock moving smoothly and prevents rust.
Protecting Against Weather
Weather can damage lock cores quickly. Rain, snow, and dust cause corrosion and sticking. Cover your bike rack with a waterproof cover when not in use. Store the rack indoors during extreme weather if possible. Wipe the lock core dry after exposure to moisture. These actions help keep the lock clean and working well.
When To Seek Professional Help
Knowing when to seek professional help can save your Rockymounts bike rack lock core. Some problems need more than basic tools and skills. Recognizing these moments prevents further damage and stress. Professionals have the right tools and knowledge to fix tough issues quickly.
Signs Of Irreparable Damage
Look for these signs to know when repair is not possible. If the lock core is bent or broken, it may not work again. Rust that covers internal parts often causes permanent damage. Keys that break inside the lock can jam it beyond simple fixes. When the lock feels stuck despite cleaning and oil, damage might be severe.
Finding A Trusted Locksmith
Choose a locksmith who knows bike locks well. Search for someone with good reviews and experience. Confirm they use proper tools and methods for Rockymounts locks. Ask for a price estimate before the work starts. A skilled locksmith can save your lock without causing damage.

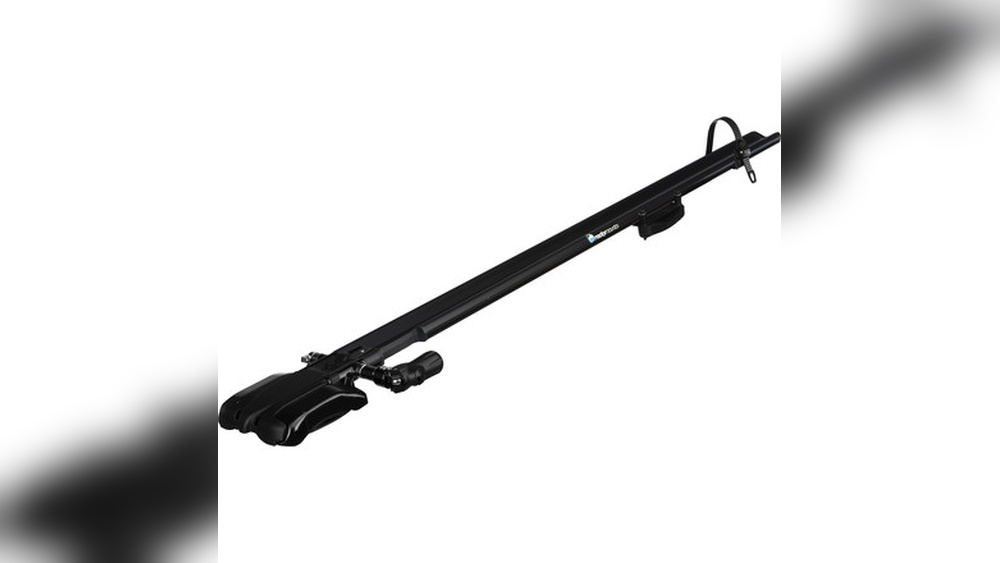
Credit: thebestbikelock.com
Frequently Asked Questions
How Do I Unlock A Stuck Rockymounts Bike Rack Core?
To unlock a stuck core, spray graphite lubricant inside the keyhole. Insert and turn the key gently. Avoid using excessive force to prevent damage.
What Causes Rockymounts Lock Cores To Get Stuck?
Dirt, rust, and lack of lubrication usually cause cores to stick. Exposure to moisture and debris affects smooth key turning and locking.
Can I Fix A Stuck Rockymounts Lock Core Myself?
Yes, simple fixes like cleaning and lubricating the core work. If problems persist, consult a professional locksmith or Rockymounts support.
How Often Should I Maintain My Rockymounts Bike Rack Lock?
Regular maintenance every 3-6 months keeps locks functional. Clean, lubricate, and check for wear to prevent sticking and extend lock life.
Conclusion
Fixing a stuck Rockymounts bike rack lock core is simple with the right steps. Clean and lubricate the lock to help it move smoothly. Avoid forcing the key, as this can cause damage. Regular maintenance keeps your lock working well.
These tips save time and prevent frustration. Keep your bike rack secure and ready for every ride. Small efforts make a big difference in lock performance. Stay patient and follow the guide carefully. Your bike rack will be back in action soon.