Are you struggling with locked bike brakes that won’t budge? It can be frustrating and even dangerous when your brakes get stuck, stopping you from enjoying your ride.
But don’t worry—fixing locked bike brakes is easier than you think. You’ll discover simple, step-by-step solutions to get your brakes working smoothly again. Keep reading, and you’ll be back on the road in no time, riding safely and confidently.

Credit: www.wikihow.com
Causes Of Locked Bike Brakes
Locked bike brakes can stop your ride suddenly. Understanding what causes them helps fix the problem fast. Several issues can make brakes stick or stay tight. Each problem affects the brakes differently. Knowing these causes can save time and improve safety.
Stuck Brake Pads
Brake pads press on the wheel rim to stop the bike. Dirt, rust, or grime can cause pads to stick. When pads stay pressed, the wheel stops turning freely. This problem often happens after rain or long storage. Cleaning and checking pads helps prevent sticking.
Frozen Brake Cables
Brake cables connect the brake lever to the pads. Water or dirt inside cables can freeze in cold weather. Frozen cables block smooth movement. The brake stays tight, locking the wheel. Regular cable checks and lubrication avoid freezing issues.
Misaligned Brake Calipers
Brake calipers hold the brake pads in place. If calipers shift, pads do not release properly. This causes constant pressure on the wheel. Misalignment happens from hits or poor adjustments. Realigning calipers solves the locked brake issue.
Damaged Brake Components
Worn or broken parts affect brake function. Springs, pads, or cables can wear out over time. Damaged parts may cause brakes to stick or lock. Regular inspection finds damaged components early. Replacing faulty parts restores brake performance.

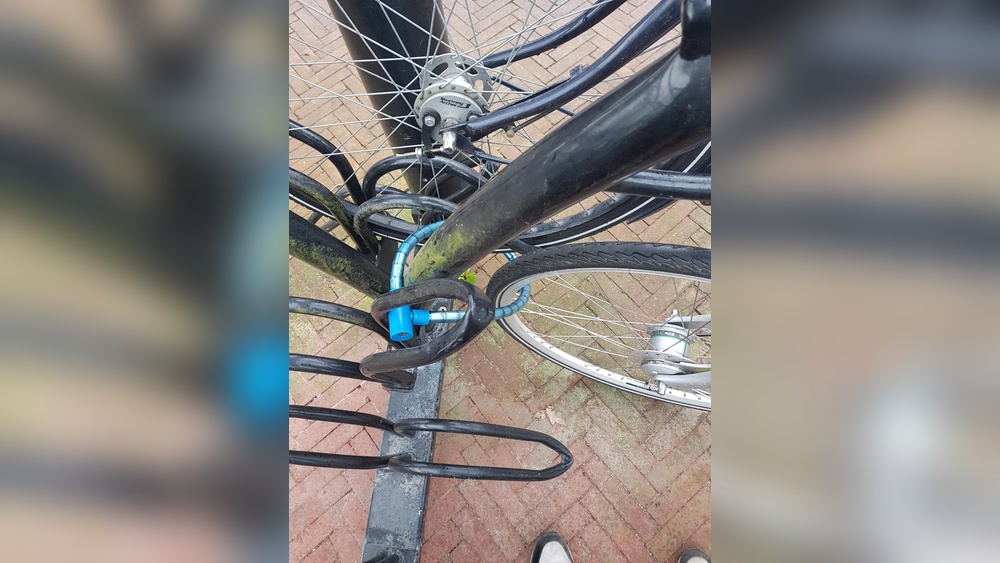
Credit: www.wikihow.com
Tools Needed For Brake Repair
Fixing locked bike brakes requires the right tools. Having the correct tools makes the repair easier and faster. It helps avoid damage to your bike parts. Gather these tools before starting your brake repair.
Basic Hand Tools
You need simple hand tools like screwdrivers and wrenches. A set of Allen keys is essential for most bike brakes. Needle-nose pliers help to handle small parts. A clean rag or cloth is useful for wiping dirt and grease. These tools allow you to loosen or tighten brake components.
Lubricants And Cleaners
Lubricants help brake parts move smoothly. Use a light oil or bike-specific lubricant. Cleaners remove dirt, grease, and rust from brake parts. Use a bike-safe degreaser or rubbing alcohol. Proper cleaning and lubrication improve brake function and prevent sticking.
Replacement Parts
Some brake parts wear out and need replacement. Brake pads are the most common parts to replace. Brake cables can stretch or break and may need new ones. Check your brake model for the right parts. Having replacements ready helps you finish the repair quickly.
Freeing Stuck Brake Pads
Stuck brake pads can stop your bike from moving smoothly. Dirt, rust, or dry parts often cause this problem. Fixing stuck brake pads helps your bike brake safely and ride well. Follow simple steps to free the pads and get back on the road quickly.
Cleaning Brake Pads And Rims
Start by checking the brake pads and rims for dirt and grime. Use a clean cloth or soft brush to remove all debris. If needed, apply rubbing alcohol to clean stubborn dirt. Clean surfaces help the brake pads grip the rims better. This step reduces pad sticking and improves brake function.
Lubricating Moving Parts
Check the brake arms and pivot points for dryness or rust. Apply a small amount of bike-specific lubricant on these parts. Avoid getting lubricant on brake pads or rims. Lubrication helps parts move freely and stops the pads from sticking. Regular oiling keeps brakes smooth and responsive over time.
Fixing Frozen Brake Cables
Frozen brake cables cause bike brakes to lock or feel stiff. Cold weather or dirt buildup can freeze the cables inside the housing. Fixing frozen brake cables helps your bike brake smoothly again. This section explains simple steps to inspect, clean, lubricate, and replace cables if needed.
Cable Inspection And Cleaning
Start by checking the brake cables closely. Look for rust, dirt, or cracks along the cable and housing. Dirt can stop the cable from moving freely. Use a clean cloth to wipe off grime. If cables are stuck, try moving them gently to free any blockages. Clean cables improve brake response and safety.
Lubricating Brake Cables
Lubrication helps cables slide inside the housing easily. Use a bike-specific lubricant for best results. Apply a small amount along the cable’s length. Avoid over-lubricating as it can attract dirt. After applying, move the brake lever several times. This spreads the lubricant and frees the cable. Smooth cables make braking lighter and safer.
Replacing Damaged Cables
Inspect cables for deep rust or broken strands. Damaged cables can cause brakes to lock or fail. Replace old or damaged cables immediately. Use new cables designed for your bike model. Remove the old cable carefully, then thread the new one through the housing. Tighten and adjust the brakes for proper tension. New cables restore reliable braking power.
Realigning Brake Calipers
Realigning brake calipers is key to fixing locked bike brakes. Misaligned calipers cause the brake pads to rub too much. This can stop the wheel from spinning freely. Realigning calipers helps the brakes work smoothly and safely.
Loosening And Adjusting Calipers
Start by loosening the bolts holding the calipers. Use an Allen wrench or a suitable tool. Loosen the bolts just enough to allow movement. Avoid removing them completely. This step frees the calipers for adjustment.
Centering Brake Pads
Next, center the brake pads on the wheel rim. Squeeze the brake lever gently to hold the pads in place. Adjust the calipers so the pads sit evenly on both sides. Make sure the pads do not touch the tire or fall below the rim edge.
Tightening And Testing
Tighten the caliper bolts while keeping the pads centered. Check that the calipers stay in position. Spin the wheel to see if it moves freely. Squeeze the brake lever to test brake response. Realign again if the brakes still lock or rub.

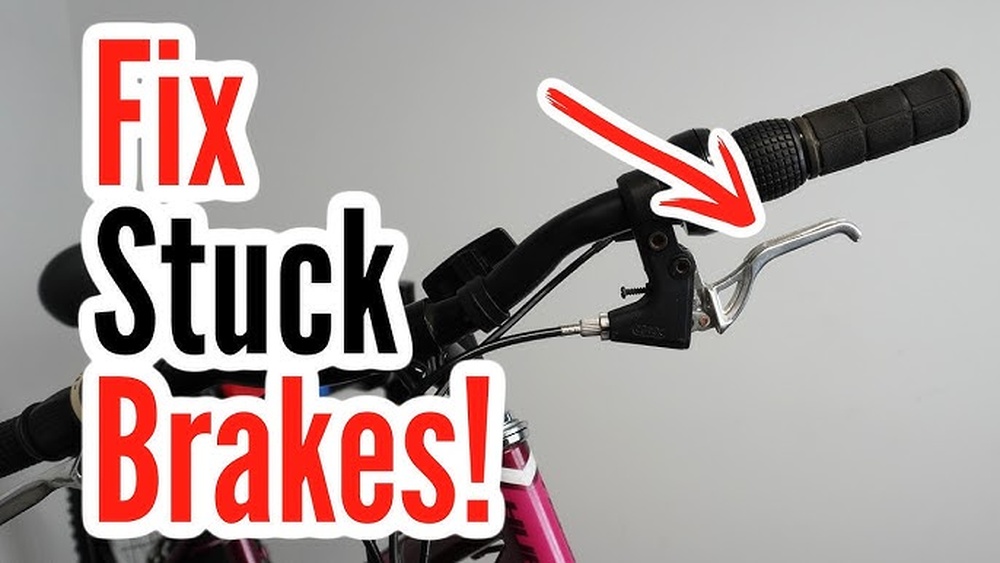
Credit: www.youtube.com
Replacing Worn Or Damaged Parts
Replacing worn or damaged parts is a key step to fix locked bike brakes. Over time, parts wear out and cause brake problems. Checking and changing these parts keeps brakes working well and safe.
Brake Pads Replacement
Brake pads wear down with use. Thin or cracked pads reduce braking power. Remove old pads by loosening the bolts. Insert new pads that fit your bike model. Adjust them so they touch the rim evenly. Test brakes to ensure smooth stopping.
Brake Cable Replacement
Brake cables can rust or stretch. This causes brakes to lock or not release properly. Cut the old cable at the brake lever and caliper. Thread a new cable through the housing. Tighten it enough for firm brake response. Check the cable moves freely without sticking.
Brake Lever Inspection
Brake levers can become loose or damaged. Inspect the lever for cracks or bends. Tighten any loose bolts or screws. Replace the lever if it feels weak or broken. A strong lever gives better control and safer braking.
Preventive Maintenance Tips
Preventing locked bike brakes starts with simple care steps. Regular maintenance keeps brakes smooth and safe. Small efforts stop big problems.
Regular Cleaning And Lubrication
Clean brake parts often to remove dirt and grime. Use a soft brush and mild soap. Dry parts completely before adding lubricant. Lubricate brake cables and pivots to keep movement smooth. Avoid oil on brake pads or rims. This can reduce braking power.
Routine Brake Checks
Check brake pads for wear every few weeks. Replace pads if they look thin or uneven. Test brake levers for smooth action. Adjust cable tension to ensure firm braking. Make sure brake arms move freely without sticking.
Safe Storage Practices
Store your bike in a dry place. Avoid damp or wet areas that cause rust. Hang the bike or use a stand to keep brakes off the ground. Cover the bike if left outside to shield from dust and rain. Proper storage extends brake life and function.
Frequently Asked Questions
Why Are My Bike Brakes Locked Up Suddenly?
Locked bike brakes often result from stuck brake calipers or pads rubbing the wheel. This happens due to dirt buildup, rust, or cable tension issues. Regular cleaning and proper brake adjustment usually fix the problem quickly and prevent future locking.
How Can I Fix Locked Bike Brakes At Home?
First, check for debris between brake pads and the rim. Then, release brake cable tension slightly. Clean and lubricate brake components. If needed, realign brake pads to avoid rubbing. These steps usually restore smooth brake function without professional help.
What Causes Bike Brake Cables To Stick?
Brake cables stick mainly due to dirt, rust, or lack of lubrication inside the cable housing. Moisture can cause corrosion, increasing friction and causing brakes to lock. Regular maintenance with cleaning and applying lubricant prevents cable sticking and maintains smooth brake action.
Can Worn Brake Pads Cause Locked Brakes?
Yes, worn brake pads can cause brakes to lock by unevenly pressing or sticking against the wheel rim. Replacing old or damaged pads ensures proper brake release and improves overall braking performance. Always inspect pads regularly for wear and tear.
Conclusion
Fixing locked bike brakes can be simple with the right steps. Check the brake pads and cables for dirt or damage. Adjust the brake tension carefully to avoid sticking. Regular cleaning helps keep brakes working smoothly. Remember, safety comes first when riding your bike.
Practice these tips to enjoy a smoother, safer ride every time. Stay patient and keep your bike in good shape. Your brakes will thank you.