If you want a firm, comfortable hold on your dirt bike’s handlebars, installing lock-on grips is the way to go. But maybe you’re wondering how to get them on right without slipping or struggling.
This guide will walk you through every step, making the process simple and stress-free. By the end, you’ll have your lock-on grips installed securely, giving you better control and confidence on every ride. Ready to upgrade your grip and ride like a pro?
Let’s dive in!
Tools And Materials
Installing lock-on grips on your dirt bike needs the right tools and materials. Having everything ready makes the process smooth and fast. It helps to avoid mistakes and saves time. This section covers the essential tools and how to choose the right grips for your bike.
Essential Tools
Start with a set of Allen wrenches. These help tighten the lock rings on the grips. You will also need a flathead screwdriver to remove old grips if stuck. A clean rag is useful for wiping the handlebar clean before installation. Use rubbing alcohol to remove dirt and oil. This ensures the new grips stick well. Some grips come with small bolts or screws; a matching screwdriver or wrench is necessary. Keep a pair of pliers handy to pull off the old grips. Avoid using excessive force to prevent damage.
Choosing The Right Grips
Pick grips that fit your handlebar diameter. Most dirt bike handlebars are 7/8 inch in diameter. Choose lock-on grips designed for this size. Consider the grip material for comfort and durability. Rubber grips offer good shock absorption. Silicone grips are soft and provide a firm hold. Check the grip pattern for control and style. Lock-on grips come with metal clamps that secure them tightly. This prevents slipping during rides. Choose grips that match your riding style and terrain conditions.
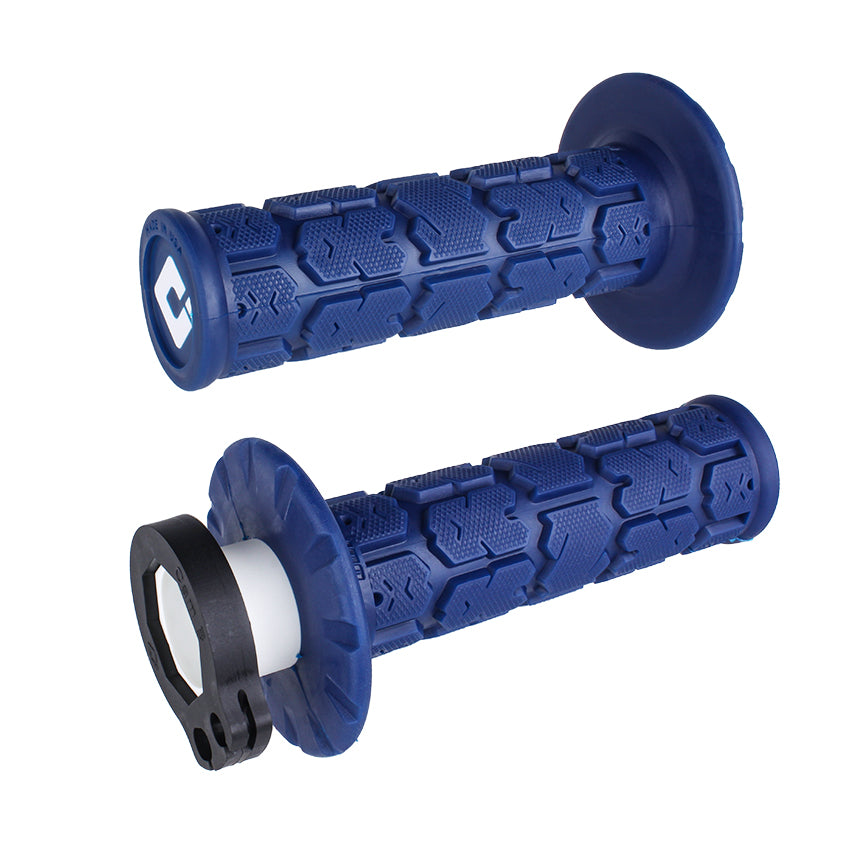
Credit: www.odigrips.com
Preparing The Dirt Bike
Preparing your dirt bike is the first step before installing lock-on grips. A clean and smooth handlebar surface helps the new grips fit perfectly. Taking time here ensures a secure and long-lasting grip installation.
Removing Old Grips
Start by removing the old grips from the handlebars. Use a flat tool or screwdriver to lift the edge of the grip. Spray a little soapy water or rubbing alcohol under the grip to loosen it. Twist and pull the grip off carefully. Avoid tearing or damaging the handlebar.
Cleaning Handlebar Surface
After removing the old grips, clean the handlebar surface thoroughly. Use rubbing alcohol or a degreaser to remove dirt, grease, and residue. Wipe the surface with a clean cloth until it feels dry and smooth. This step helps the lock-on grips lock tightly in place without slipping.
Installing Lock-on Grips
Installing lock-on grips on a dirt bike improves control and comfort. These grips fit securely and prevent slipping during rides. The process is simple and quick with the right steps. Follow this guide to install lock-on grips correctly for a safe and enjoyable ride.
Positioning The Grip
Start by sliding the grip onto the handlebar. Align the grip so it feels natural for your hand. Make sure it covers the handlebar fully without blocking controls. Check the grip’s position before tightening to avoid discomfort.
Securing The Lock Ring
Each lock-on grip has a metal ring to hold it tight. Place the lock ring at the grip’s edge. Ensure it sits flush against the grip surface. This ring will keep the grip from spinning or sliding off.
Tightening Bolts Properly
Use an Allen wrench or the tool provided to tighten the bolts. Tighten bolts evenly to avoid damaging the grip. Do not overtighten; this may strip the threads or crack the grip. Check that the grip is secure but still comfortable to hold.

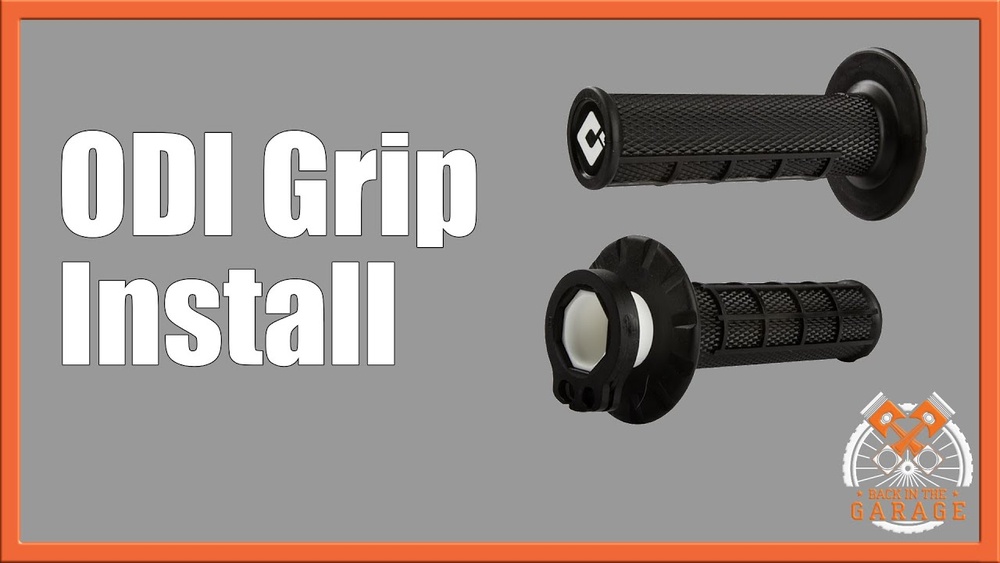
Credit: www.youtube.com
Installing Throttle Side Grip
Installing the throttle side grip on your dirt bike requires care and precision. This part controls your bike’s acceleration, so it must fit perfectly. Follow simple steps to ensure your throttle grip works smoothly and safely.
Aligning The Throttle Tube
Start by placing the throttle tube onto the handlebar. Make sure it slides on without force. The tube must line up with the throttle housing correctly. Misalignment can cause poor throttle response or sticking. Rotate the tube gently to check its position. It should move smoothly but stay in place when released.
Checking For Smooth Operation
After aligning, twist the throttle grip several times. It should return to its resting position quickly. No sticking or resistance should be felt. Check that the throttle snaps back instantly when you let go. A smooth throttle prevents accidents and improves control. Adjust the grip or tube if any tightness or lag appears.
Final Checks
After installing lock-on grips on your dirt bike, performing final checks is crucial. These checks guarantee safety and performance during your ride. Take time to inspect each part carefully. Small mistakes can cause big problems on the trail.
Ensuring Grip Security
Check the lock rings for tightness. Use an Allen wrench to confirm screws are snug. The grips must not twist or slide on the handlebar. Hold the grip firmly and try to move it by hand. If it moves, tighten the screws more. Loose grips can cause loss of control.
Inspect the surface of the grips. Make sure they fit evenly and fully cover the handlebar ends. No gaps or uneven spots should be visible. Proper grip security prevents accidents and improves comfort.
Testing Throttle Response
Twist the throttle grip to check its movement. It should spin smoothly without sticking. Return the throttle to the idle position quickly and fully. A sticky throttle can be dangerous and cause accidents.
Start the bike and test the throttle response at low speed. The engine should respond immediately when you twist the grip. If there is any delay or resistance, recheck the throttle tube and grip installation. Correct throttle function is vital for safe riding.
Maintenance Tips
Maintaining lock-on grips on your dirt bike ensures they stay secure and comfortable. Proper care helps avoid slipping and extends grip life. Simple maintenance keeps your ride safe and enjoyable.
Cleaning Lock-on Grips
Remove dirt and grime regularly. Use mild soap and warm water. Avoid harsh chemicals that can damage rubber. Use a soft brush to scrub gently. Rinse thoroughly and dry with a clean cloth. Clean grips improve grip and control.
Troubleshooting Common Issues
If grips feel loose, check the locking collars. Tighten the screws with an Allen wrench. Inspect for worn or damaged parts and replace if needed. Sticky or stiff grips may need cleaning or lubrication. Proper troubleshooting keeps your grips reliable on all rides.
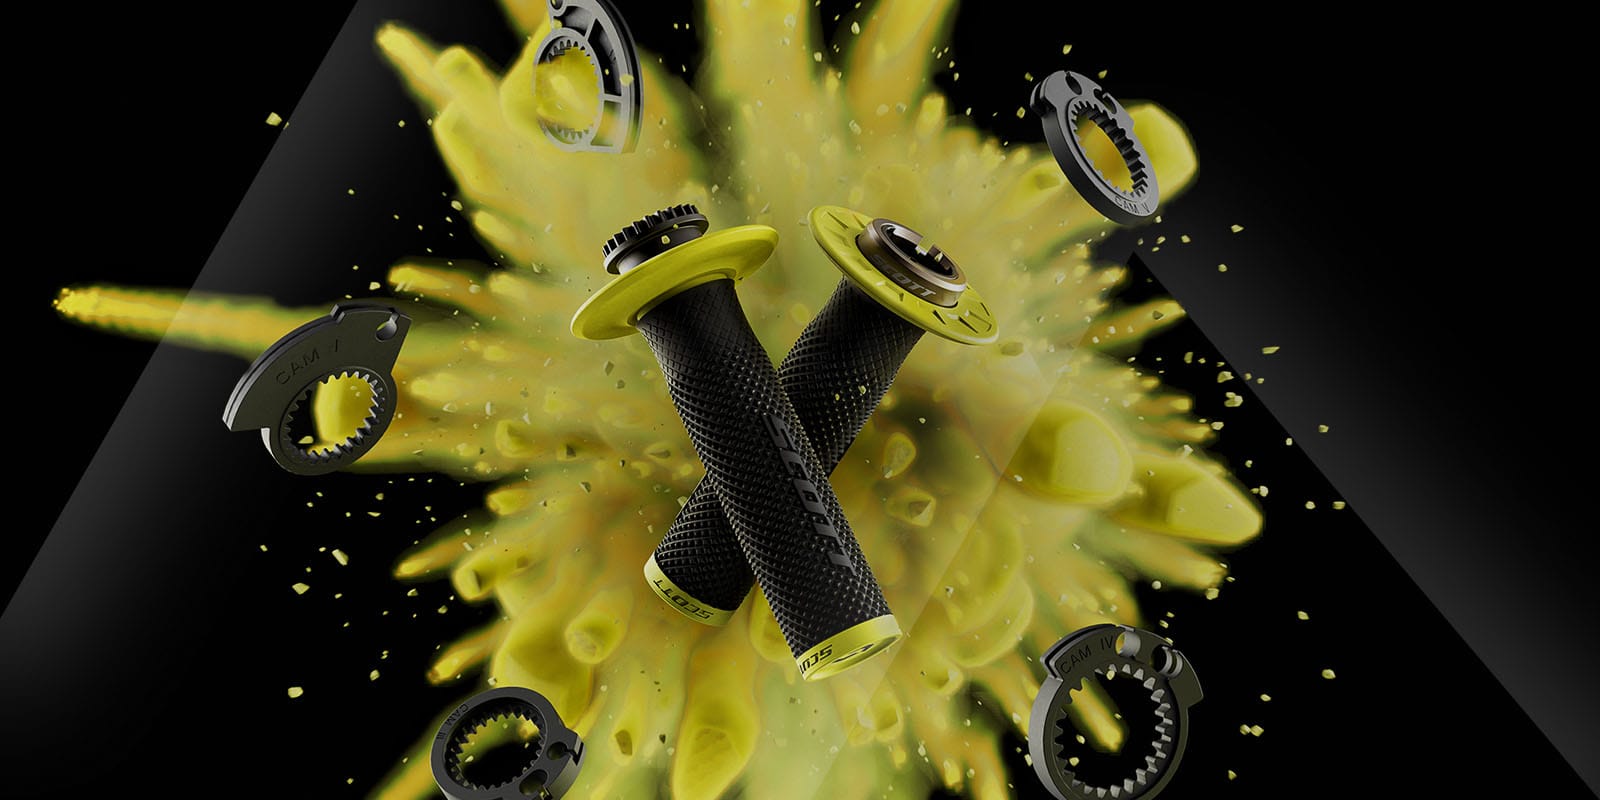
Credit: www.scott-sports.com
Frequently Asked Questions
How Do Lock On Dirt Bike Grips Work?
Lock-on dirt bike grips secure with metal clamps tightened by screws. This prevents slipping and ensures a firm hold during rides.
How To Install Odi Lock On Grips?
Slide the ODI lock-on grip onto the handlebar. Align the clamp, then tighten the Allen bolts securely. Check for smooth throttle movement.
Are Lock-on Grips Worth It?
Lock-on grips offer superior durability and secure fit compared to slip-on grips. They prevent slipping and enhance control. Easy to install without glue, they reduce wear and tear, making them a worthwhile investment for riders seeking comfort and reliability.
How To Get Dirt Bike Grips To Stick?
Clean the handlebars thoroughly. Apply grip glue or hairspray inside the grip. Slide grips on quickly and twist to remove air bubbles. Let them dry completely before riding.
Conclusion
Installing lock-on grips on your dirt bike improves control and comfort. Follow each step carefully for a secure fit. Use the right tools and tighten the clamps evenly. Check the throttle side for smooth movement before riding. Proper installation prevents grip slipping and enhances safety.
Regularly inspect the grips to keep them in good condition. Enjoy a better ride with your new lock-on grips. Simple steps lead to lasting performance and a more enjoyable dirt biking experience.